
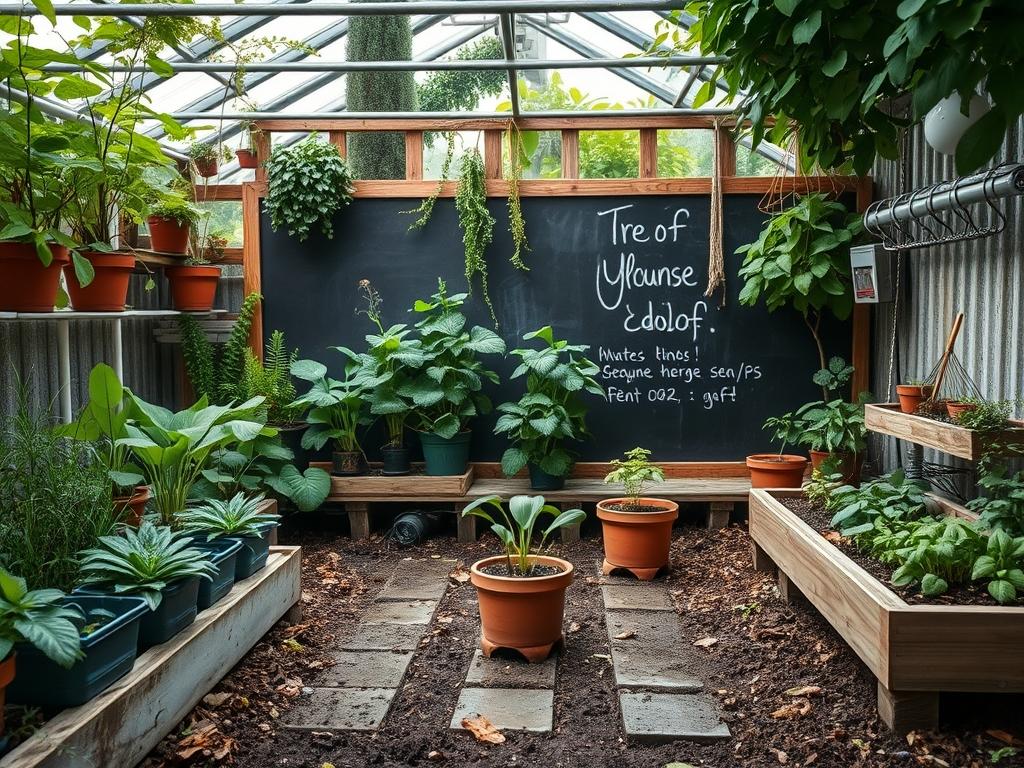
Modern landscape architecture increasingly focuses on the integration of multi generational utility within the residential footprint. We no longer view the backyard as a static portrait of greenery, but rather as a dynamic outdoor living space that must facilitate play, relaxation, and aesthetic value simultaneously. One of the most effective ways to achieve this balance is through the strategic installation of Backyard Chalkboard Walls. These features serve as interactive focal points that encourage tactile engagement while offering a structured architectural element to the garden layout. When approaching this design challenge, a consultant must weigh the impact on curb appeal against the practical needs of the family. The goal is to create a zone where a child can express creativity without disrupting the sophisticated visual flow of the professionally curated environment. This requires careful consideration of site orientation, prevailing wind patterns that might carry chalk dust, and the overall moisture levels of the microclimate.
Integrating an interactive wall into a high end landscape requires a firm grasp of spatial geometry. In professional garden planning, we often use the chalkboard as a vertical anchor to create a garden room. By positioning a Backyard Chalkboard Wall at the terminus of a sightline, you establish a clear focal point that draws the eye through the property. Symmetry plays a vital role here. If the wall is placed on one side of a lawn, it should be balanced on the opposing side by a similarly scaled structural element, such as a Vertical Trellis or a dense planting of Arborvitae. Elevation layers also come into play when the topography is uneven. A chalkboard can be integrated into a Retaining Wall system to reclaim usable space from a slope. Furthermore, irrigation planning is critical. Spray heads must be positioned and calibrated to ensure that the water trajectory does not infringe upon the writing surface, as constant moisture will degrade the finish and lead to fungal growth on wooden frames.
When selecting the surrounding flora and structural materials, the landscape architect must prioritize durability and safety. The area immediately adjacent to the wall should feature resilient species that can withstand high foot traffic and the occasional stray piece of chalk.
| Plant Type | Sun Exposure | Soil Needs | Water Demand | Growth Speed | Maintenance Level |
| :— | :— | :— | :— | :— | :— |
| English Lavender | Full Sun | Well Drained | Low | Moderate | Low |
| Blue Star Creeper | Partial Shade | Loamy | Moderate | Fast | Moderate |
| Boxwood | Variable | Moist/Rich | Moderate | Slow | High (Trimming) |
| Mexican Feather Grass | Full Sun | Sandy/Poor | Very Low | Fast | Low |
| Creeping Thyme | Full Sun | Gritty | Low | Moderate | Low |
| Rosemary | Full Sun | Well Drained | Low | Moderate | Low |
The choice of plants like English Lavender or Rosemary adds a sensory dimension to the play area, providing fragrance while their sturdy woody stems resist breakage. For the hardscaping components, we recommend using Pressure-treated Lumber or Western Red Cedar for the framing to resist rot. The chalkboard surface itself should be comprised of Exterior-grade Plywood or Cement Backer Board, finished with a high quality Outdoor Chalkboard Paint. To manage the ground plane, a 3-inch layer of Cedar Mulch or Engineered Wood Fiber provides a soft landing surface that suppresses weeds and maintains a clean aesthetic.
The implementation strategy for a Backyard Chalkboard Wall begins with comprehensive site grading. You must ensure the ground slopes away from the wall to prevent water from pooling at the base, which can compromise the structural integrity of the posts. We typically specify a 2-percent grade for adequate runoff. Start by excavating holes for the support posts to a depth of 24 inches, or below the local frost line, to prevent heaving. Use a 4-foot level to ensure the posts are perfectly plumb before pouring Quick-setting Concrete. Once the frame is secure, install a Permeable Weed Barrier over the soil and edge the area with Steel Edging or Belgium Block to contain the ground cover. When mounting the writing surface, leave a 0.5-inch gap at the bottom for airflow, which prevents trapped moisture from warping the wood. Finish the installation by applying a Silicone Sealant around the top edge and sides to protect the core materials from the elements.
Even the most well intentioned landscaping projects can fail if fundamental engineering principles are ignored. One common failure in these installations is the lack of proper drainage behind the wall surface. If the wall is mounted flush against a fence or a masonry structure without a drainage gap, moisture becomes trapped, leading to wood rot and paint bubbling. Another frequent mistake is root overcrowding. Designing a lush garden around the chalkboard is admirable, but planting aggressive species too close to the wall can lead to structural damage as roots or vines infiltrate the frame. Soil compaction is another silent killer of backyard aesthetics. The high traffic around an interactive wall will naturally compact the earth, leading to poor oxygenation for nearby plants. To mitigate this, we recommend installing Stepping Stones or a Decomposed Granite path to direct movement and protect the root zones of Native Plants. Finally, irrigation inefficiencies occur when homeowners fail to adjust their systems for the new structure, often resulting in “dead zones” where the wall blocks natural or artificial rainfall from reaching the foliage behind it.
Seasonal management is what separates a professional landscape from a DIY project. In the spring, the focus should be on checking the structural stability of the wall after the winter thaw. Inspect the Galvanized Screws for any signs of loosening and refresh the Mulch to keep the base tidy. During the summer, the primary task is managing the irrigation to ensure the surrounding Boxwoods or Lavender are receiving enough water without splashing the board. As autumn arrives, clear away dead leaves and debris that might collect in the Drainage Gills of the structure. This is also the time to apply a fresh coat of Exterior Chalkboard Paint if the surface has faded from UV exposure. In winter, if you live in a climate with heavy snow, consider covering the wall with a Waterproof Tarp or removing the chalkboard panel entirely if it was designed as a modular insert. This prevents ice expansion from cracking the frame or degrading the chalkboard finish.
Professional Landscaping FAQ
What is the best ground cover for under a chalkboard wall?
We recommend Engineered Wood Fiber or Pea Gravel. These materials provide a clean, stable surface that handles high foot traffic while allowing for excellent drainage, preventing mud from splashing onto the writing surface during heavy rain.
How do I prevent the chalkboard from rotting outdoors?
Use Exterior-grade Plywood and seal all edges with Silicone Sealant. Ensure there is an air gap between the board and any support structure to allow for ventilation, and always use Pressure-treated Lumber for any ground-contact posts.
Can I attach a chalkboard wall to an existing fence?
Yes, provided the fence is structurally sound. You must use Stainless Steel Bolts to secure it and ensure the weight does not cause the fence to sag. Adding a Top Cap will help shed water away from the fence.
Which plants are safest for children playing near the wall?
Stick to non toxic, hardy species like English Lavender, Snapdragons, and Mexican Feather Grass. Avoid plants with thorns, such as certain roses, or those with berries that could be an ingestion hazard for younger children.
How high should the chalkboard be mounted?
For residential landscapes, the bottom edge should sit 12 to 18 inches above the ground. This allows younger children to reach the lower section while providing plenty of vertical space for older children and adults to use the upper portions comfortably.