
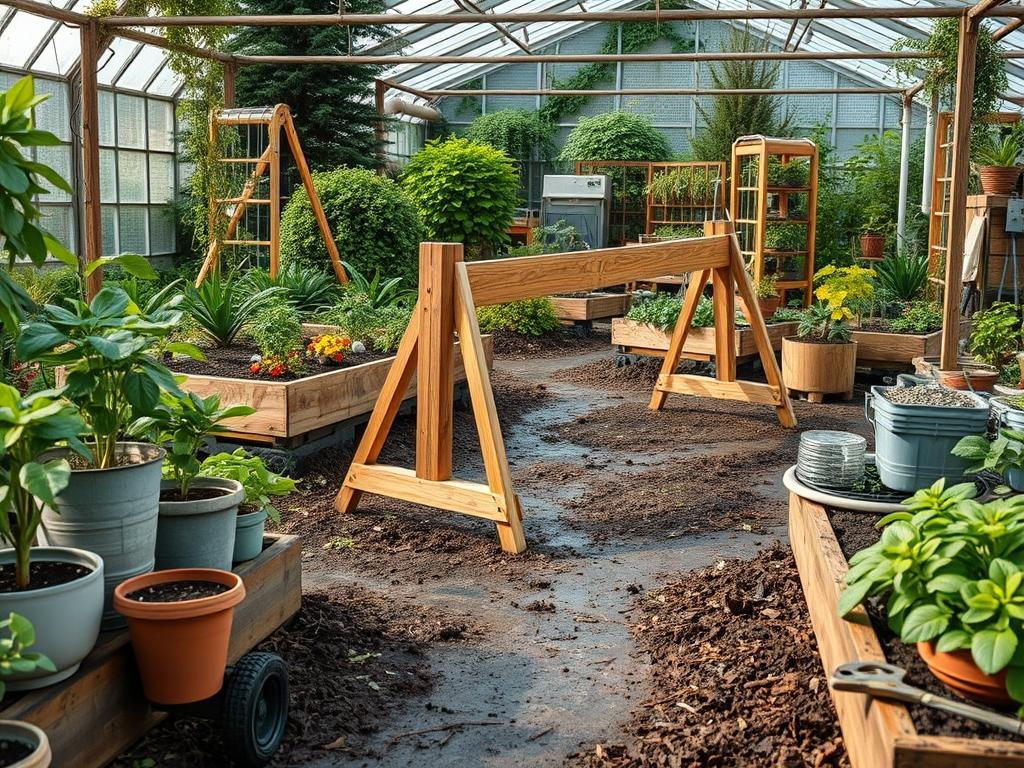
Integrating dynamic play structures into a residential landscape requires a sophisticated balance between engineering and aesthetics. As a landscape architect, I approach the installation of Backyard Obstacle Course Kits not as a temporary addition, but as a permanent site feature that must harmonize with the existing topography and botanical palette. The primary challenge lies in preventing the play area from looking like an afterthought. We must consider the local climate, particularly how precipitation will interact with high traffic zones, and how the footprint of the equipment affects the overall curb appeal. A well designed course acts as a functional sculpture, utilizing the natural elevation of the land to create challenges while maintaining the site’s drainage integrity. By planning for long term functionality, we ensure the garden remains a place of rejuvenation for adults while providing a rigorous developmental environment for children.
Landscape Design Principles
Successful integration of Backyard Obstacle Course Kits starts with the principle of spatial hierarchy. The course should be treated as a major focal point, situated in a way that respects the axial symmetry of the home’s architecture. If the yard has a formal layout, the course can be tucked behind a retaining wall or a line of privet hedges to maintain a clean visual field from the main patio. Conversely, in a more naturalistic or “English cottage” style garden, the course can wind through existing clusters of trees, using the trunks as natural anchors for certain elements.
Elevation layers are critical for both play value and visual interest. Rather than flattening the entire area, professional designers often use berms or decorative mounded earth to provide height for starting platforms or slide exits. This adds a three dimensional quality to the landscape that flat lawns lack. Furthermore, irrigation planning must be finalized before any hardware is anchored. Sprinkler heads should be relocated to the perimeter of the play zone to prevent “dead spots” where equipment blocks water or, conversely, “wet spots” where metal poles or wooden beams are subjected to constant moisture, leading to premature rot or corrosion.
Finally, visual balance is achieved through the use of transition zones. A sharp line between a manicured lawn and a play kit can be jarring. By using walkways made of flagstone or decomposed granite, you create a logical flow that guides the eye and the feet from the social areas of the garden to the active ones. This secondary hardscaping serves as a buffer, protecting high maintenance turf from the heavy foot traffic common near a Backyard Obstacle Course Kit.
Plant and Material Selection
The following table outlines the most resilient materials and plant species suited for areas surrounding high activity zones. Selecting the right components ensures that the “soft” elements can withstand the “hard” use typical of an obstacle course environment.
| Plant or Material Type | Sun Exposure | Soil Needs | Water Demand | Growth Speed | Maintenance Level |
| :— | :— | :— | :— | :— | :— |
| Kentucky Bluegrass | Full Sun | Rich, Silty | High | Fast | High |
| Creeping Thyme | Full Sun | Well Drained | Low | Moderate | Low |
| Blue Fescue | Full to Part | Sandy/Dry | Low | Moderate | Low |
| Emerald Green Arborvitae | Full to Part | Loamy | Medium | Moderate | Low |
| Engineered Wood Fiber | N/A | N/A | N/A | N/A | Medium |
| Rubber Mulch | N/A | N/A | N/A | N/A | Very Low |
| Dwarf Boxwood | Part Shade | Loamy/Moist | Medium | Slow | Moderate |
Implementation Strategy
The construction phase begins with a precise site grading plan. You must ensure that the ground has a two percent slope away from the equipment to prevent pooling. Once the area is marked using surveyor’s stakes and string lines, excavate the footprint to a depth of at least 12 inches. This depth allows for a proper sub-base and safety surfacing. Install a 4 inch perforated drainage pipe wrapped in a filter fabric sock if the soil has high clay content. This is a critical step; without it, your play area will become a basin for runoff.
After the drainage is set, lay down a heavy duty landscape fabric to separate the soil from your surfacing material. This prevents weeds from migrating up and prevents your safety mulch from sinking into the mud. For the edging, use 6×6 pressure treated timbers or heavy gauge steel edging to contain the surfacing material. Once the containment is built, install the Backyard Obstacle Course Kit anchors. Use a concrete mixer to provide a solid footing for any vertical posts, ensuring they are perfectly level using a spirit level.
Once the hardware is secure, backfill the area with your chosen safety material. Engineered Wood Fiber (EWF) is a professional standard because it knits together to form a firm yet impactful surface. Apply it at a depth of 9 to 12 inches. This depth is not arbitrary; it is designed to provide fall protection from various heights. Finish the perimeter with native shrubs or ornamental grasses to soften the transition between the hard equipment and the rest of the garden.
Common Landscaping Failures
One of the most frequent errors I see in residential projects is inadequate drainage management. Homeowners often place Backyard Obstacle Course Kits in the lowest part of the yard because it is “out of the way.” This results in a muddy, unusable zone for half the year. Furthermore, standing water against wooden or metal supports causes hydrostatic pressure that can shift footings and weaken the structural integrity of the kit.
Another common failure is root overcrowding. When planting trees to provide shade for the play area, many people forget how large the root systems will eventually become. Fast growing roots can easily heave concrete footings or damage underground irrigation lines. Always check the mature spread of a tree species before planting it within 15 feet of a permanent structure.
Soil compaction is a silent killer of garden health. In the “splash zones” where kids jump off obstacles, the soil becomes so compressed that air and water can no longer reach the roots of nearby plants. To combat this, ensure your mulch layer is thick enough to distribute weight, and consider installing subsurface aeration tubes for nearby specimen trees. Lastly, many fail to account for improper spacing. There must be a “use zone” of at least 6 feet in every direction around an obstacle to prevent collisions with fences, walls, or prickly vegetation.
Seasonal Maintenance
Landscape management is an ongoing process that changes with the weather. In the spring, focus on soil aeration and checking for “frost heave.” The expansion and contraction of the ground during winter can loosen the footings of your Backyard Obstacle Course Kit. Use a wrench to tighten all bolts and inspect the hardware for any signs of rust. This is also the time to refresh your mulch depth, as it likely settled during the winter months.
During the summer, the primary task is irrigation monitoring. High heat can stress the plants surrounding the course. If you are using natural turf, you may need to apply a liquid wetting agent to help water penetrate the compacted areas. Inspect any ropes or fabric components of the kit for UV degradation, as intense sun can make plastics brittle and fibers weak.
In the autumn, leaf removal is essential. Decomposing leaves trapped in wood fiber mulch will create a nutrient rich compost that encourages weed growth and ruins the impact attenuation properties of the safety surface. Use a leaf blower to clear the play area weekly. This is also the ideal time to prune any overhanging branches that might interfere with the course’s vertical clearances.
In the winter, if you live in a climate with heavy snow, it is best to remove certain modular components like swings or climbing nets and store them indoors. Heavy snow loads can stretch these materials beyond their elastic limit. For the permanent structures, apply a water repellent sealant to any exposed wood to prevent moisture from freezing inside the grain, which leads to splitting.
Professional Landscaping FAQ
How do I choose the best spot for an obstacle course?
Select a location with well drained soil and a relatively level grade. Ensure the site is visible from the house for safety but far enough from the property line to respect local zoning setbacks and neighbor privacy.
What is the best ground cover for safety and aesthetics?
Engineered wood fiber or rubber mulch are the most effective for impact attenuation. To improve aesthetics, surround the play zone with a natural stone border and use ornamental grasses to create a visual transition.
Will an obstacle course kill my grass?
Continuous foot traffic will eventually compact the soil and kill standard turf. To prevent this, define the play area as a distinct zone using safety mulch rather than trying to maintain grass directly under the equipment.
How do I prevent weeds from growing in the play area?
Install a commercial grade geotextile fabric beneath your surfacing material. Maintain a mulch depth of at least 9 inches to block sunlight from reaching the soil, which prevents dormant weed seeds from germinating.
Can I build an obstacle course on a slope?
Yes, but it requires terracing or the installation of retaining walls to create level platforms for each obstacle. Use a transit level to ensure all structural footings remain vertically aligned despite the slope of the land.