
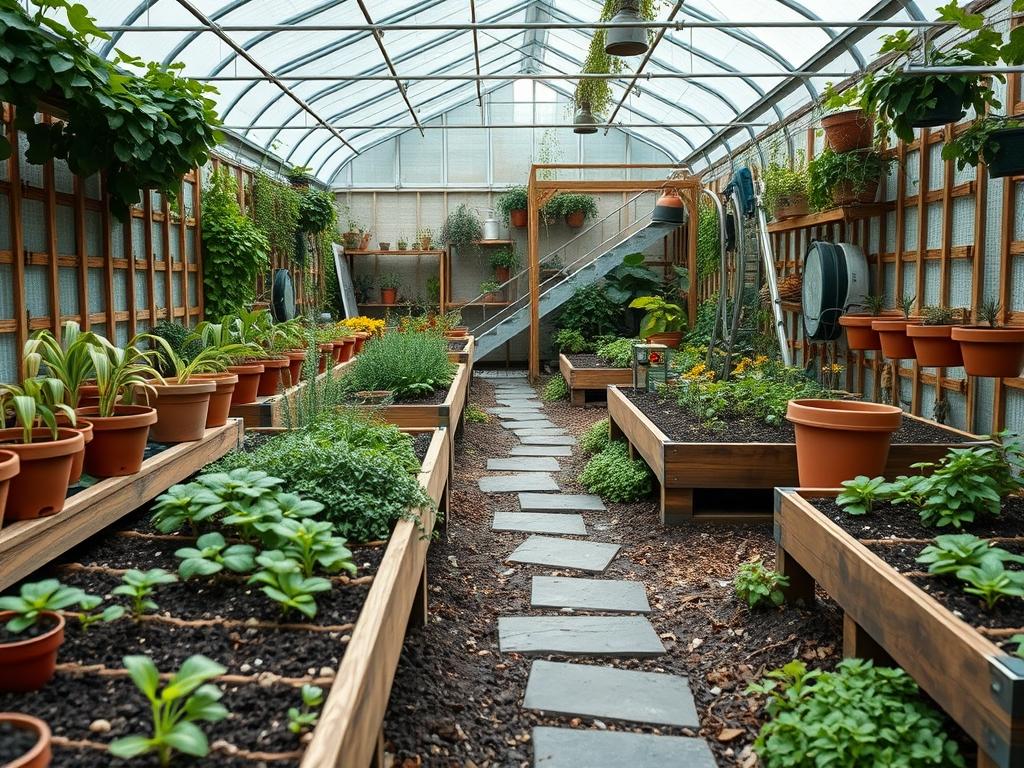
Integrating expansive mirror walls into a residential landscape represents one of the most sophisticated methods for altering spatial perception and light distribution. This technique, while visually stunning, requires a deep understanding of optical physics, horticulture, and structural engineering to execute effectively. In modern backyard mirror wall layouts, the primary challenge involves reconciling the artificial surface of the glass with the organic textures of the garden. A poorly placed mirror can create hazardous heat signatures or cause significant confusion for local bird populations. However, when properly angled and framed, a mirror wall acts as a biological portal that doubles the lushness of a planting scheme and brings light into neglected, north facing corners. The climate plays a pivotal role here, as high humidity can delaminate standard silvering, while extreme heat requires the use of tempered safety glass or polished stainless steel to prevent fracturing. Beyond mere aesthetics, these layouts serve a functional purpose by masking unsightly boundary fences or concrete retaining walls, effectively making a suburban plot feel like a vast private estate. Curb appeal is significantly bolstered because the mirror reflects the most successful parts of the design, such as a Japanese Maple or a well manicured lawn, back toward the viewer.
Landscape Design Principles
Successful backyard mirror wall layouts rely heavily on the principle of symmetry. When a mirror is placed at the terminus of a primary axis, it creates a vanishing point that draws the eye forward, tricking the brain into perceiving twice the actual square footage. Designers must pay close attention to focal points. If a mirror reflects a compost bin or a messy utility area, it doubles the visual clutter rather than the beauty. Therefore, the reflection must be curated as carefully as the primary garden.
Elevation layers are another critical component. A mirror at ground level can be obscured quickly by low lying foliage. To counter this, many professional layouts utilize retaining walls constructed from natural stone or pressure-treated timber to elevate the mirror panels. This allows the reflection to capture the mid-story and canopy of the landscape, creating a more immersive experience. Vertical interest is achieved by staggering heights. For instance, placing a 36 inch tall hedge in front of a 6 foot mirror wall allows for a green frame that softens the hard edges of the glass.
Irrigation planning must be integrated from the start. Water spots on reflective surfaces are the primary enemy of this design style. Drip irrigation systems are far superior to overhead sprayers in these layouts, as they deliver water directly to the root zone without splashing the mirror panels. Walkways should be designed to lead the viewer toward the reflection but stop just short of it. This prevents the jarring experience of walking directly into a wall while maintaining the illusion of a continuing path. Using decomposed granite or pea gravel for these paths provides a crunching texture underfoot that grounds the viewer in reality even as their eyes are deceived by the mirror.
Plant and Material Selection
The following table outlines plants that thrive in environments featuring reflected light and the materials necessary for structural integrity.
| Plant Type | Sun Exposure | Soil Needs | Water Demand | Growth Speed | Maintenance Level |
| :— | :— | :— | :— | :— | :— |
| Japanese Forest Grass | Partial Shade | Loamy, Well-drained | Moderate | Medium | Low |
| Star Jasmine | Full Sun to Shade | Versatile, Neutral | Moderate | Fast | Moderate |
| Common Boxwood | Full Sun to Part Shade | Moist, Well-drained | Medium | Slow | Moderate |
| Hydrangea macrophylla | Partial Shade | Rich, Humus-heavy | High | Medium | Moderate |
| Dwarf Maiden Grass | Full Sun | Well-drained | Low to Medium | Moderate | Low |
| Japanese Maple | Dappled Sunlight | Slightly Acidic | Moderate | Slow | High |
In terms of materials, the framework for these mirrors should consist of galvanized steel brackets or stainless steel channels. For the reflective surface itself, acrylic mirrors are often used for their shatterproof properties, though laminated glass provides better clarity over long periods. Silicone sealant specifically rated for outdoor use is essential to prevent moisture from reaching the silvering on the back of the panels.
Implementation Strategy
The process begins with precise grading and site preparation. A mirror will highlight any unevenness in the ground, so the area leading up to the wall must be perfectly level. Start by using a transit level or a laser level to establish a baseline. If the backyard has a slope, a retaining wall must be built first to provide a flat vertical surface for the mirror mounting.
Once the ground is graded, install a 6 inch gravel base behind the intended wall location to facilitate drainage. This prevents hydrostatic pressure from building up behind the mirror structure. For the installation of the panels, use heavy-duty mounting hardware that allows for a small air gap between the mirror and the wall surface. This gap is vital for air circulation, which prevents mold and keeps the mirror surface cooler.
Edge the area in front of the mirror with aluminum landscape edging to create a clean break between the decorative mulch and the mirror base. Apply a 3 inch layer of cedar mulch or dark hardwood mulch to the planting beds. This dark contrast helps the reflected colors of the plants pop. When installing the plants, ensure they are spaced according to their mature width. A common mistake is planting too close to the glass, which results in branches scratching the surface within a single growing season. Finally, install LED uplighting at the base of the mirror. At night, this lighting reflects off the glass to illuminate the entire garden with a soft, ethereal glow.
Common Landscaping Failures
One of the most frequent mistakes in backyard mirror wall layouts is improper drainage. If water pools at the base of a mirror, it can seep into the backing and cause unsightly black spots or “fogging.” A French drain system should be installed if the mirror is at the bottom of a slope.
Another failure involves localized heat buildup. Mirrors can reflect intense sunlight onto nearby plants, essentially cooking them. This is known as a “hot spot.” To avoid this, designers must chart the path of the sun throughout the day. Using anti-reflective film in small patterns can also prevent bird strikes, which is both a maintenance nightmare and an ecological concern.
Soil compaction is often overlooked during the heavy construction phase. Because the installation of large mirror panels requires significant foot traffic and heavy materials, the soil can become overly dense. It is imperative to aerate the soil and add organic compost before the planting phase begins. Lastly, improper spacing of irrigation emitters can lead to dry zones. Since the mirror reflects heat, the plants directly in front of it may require 20 percent more water than those in the rest of the garden.
Seasonal Maintenance
Seasonal care is what separates a professional landscape from an amateur one. In the spring, the focus is on cleaning and inspection. Use a soft micro-fiber cloth and a mixture of water and isopropyl alcohol to clean the mirror surface. Check all mounting brackets for signs of rust or loosening due to winter frost heave.
Summer maintenance involves managing the increased water needs caused by reflected sunlight. Monitor the drip irrigation for clogs. Prune any overly aggressive growth from Star Jasmine or other climbing vines that might be creeping across the mirror’s face.
Autumn is the time for protecting the structure. Clear away fallen leaves that can trap moisture against the base of the mirror. If you live in a climate with heavy snow, ensure that your hardscaping can handle the weight of snow piles pushed against the wall.
Winter is a period of structural monitoring. Ensure that the silicone seals remain intact. If any moisture gets behind the mirror during a freeze/thaw cycle, the expansion can crack the glass. It is also the best time to evaluate the skeleton of your garden. The mirror will reflect the bare branches of your Japanese Maple, providing a striking structural silhouette that defines the winter landscape.
Professional Landscaping FAQ
How do I prevent birds from flying into my mirror wall?
Use UV-reflective decals or etched patterns on the glass surface. These are nearly invisible to humans but highly visible to birds. Additionally, placing the mirror at a slight downward angle can redirect the reflection of the sky toward the ground.
Can I use standard interior mirrors for my backyard layout?
No, interior mirrors lack the weather-resistant backing required for outdoor environments. Moisture will quickly destroy the silvering. Instead, specify tempered exterior-grade mirrors or polished grade 304 stainless steel panels for longevity and safety in various weather conditions.
Will the mirror reflect enough heat to start a fire?
While rare, concentrated reflections can scorch plants or melt plastic. To prevent this, ensure mirrors are not concave. Flat panels spread light safely. Position mirrors so they do not focus direct midday sun onto flammable materials or sensitive foliage.
What is the best way to clean large outdoor mirror panels?
Use a telescoping squeegee with a solution of distilled water and a drop of dish soap. Avoid abrasive scrubbers that can scratch the surface. For hard water stains, a mild solution of white vinegar will dissolve mineral deposits without damaging the glass.
How deep should the footings be for a mirror wall structure?
Footings should extend below the local frost line, typically 24 to 36 inches deep. This prevents the wall from shifting or tilting during seasonal temperature changes, which would ruin the alignment of the mirrored panels and the visual illusion.