
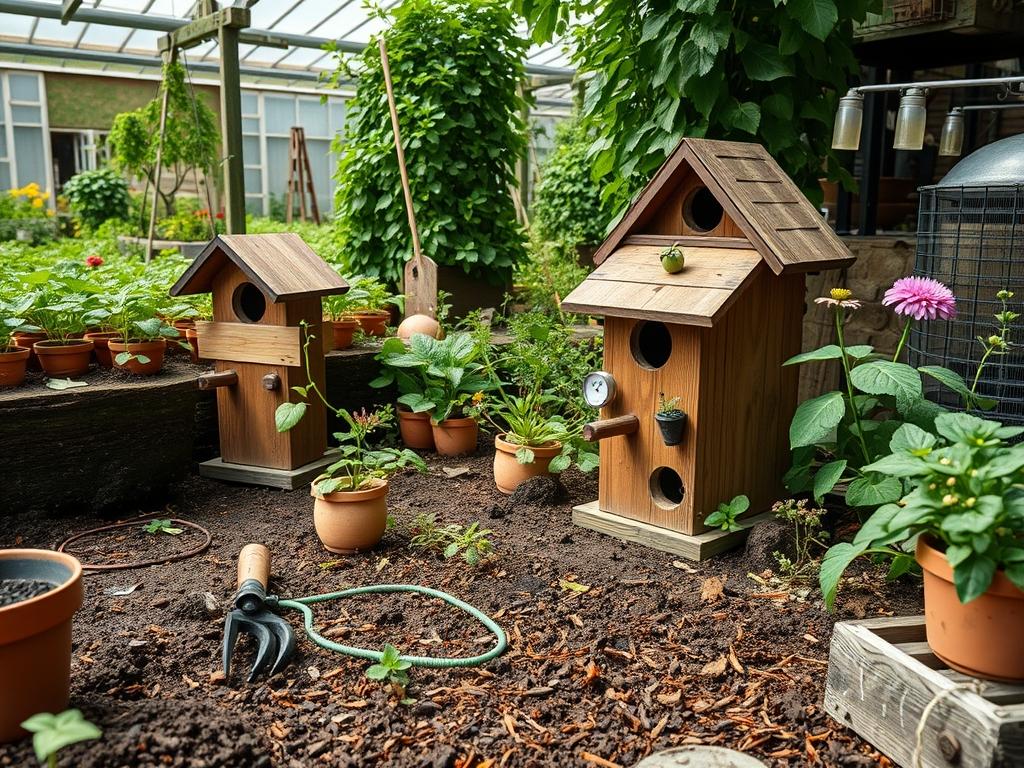
Integrating beneficial insects into a modern residential landscape requires more than just a passing interest in ecology; it demands a strategic approach to outdoor design that balances aesthetics with functional biology. As homeowners increasingly seek sustainable alternatives to chemical pest management, the inclusion of backyard ladybug houses has transitioned from a niche hobby to a legitimate element of a professional landscape plan. The primary challenge lies in making these structures appear as intentional design choices rather than afterthoughts. A well-placed insect hotel contributes to the overall curb appeal by showcasing an commitment to environmental stewardship while serving as a tactical tool for maintaining plant health. When we consider the climate, specifically the heat islands created in urban environments or the wind-exposed plains of suburban developments, the placement and construction of these shelters must be precise to ensure the survival of your predatory insect population. High functionality in a landscape is achieved when every element, from the retaining walls to the smallest nesting box, serves a dual purpose of beauty and utility.
Landscape Design Principles
Successful landscape architecture relies on the seamless integration of biological needs and human aesthetics. When planning for ladybug houses, symmetry and visual balance are paramount. You should view these structures as minor focal points within a larger garden bed, often positioned at a mid-level elevation to draw the eye without dominating the view. Placing a house atop a 4×4 cedar post at an elevation of approximately 3 feet to 5 feet creates a vertical layer that breaks up the horizontal monotony of low-lying shrubs. This elevation is also functional, as it keeps the inhabitants safe from ground-dwelling predators and heavy moisture found at the soil line.
Designers must also account for irrigation planning when siting these structures. Ladybug houses should never be placed directly in the line of fire of an automatic oscillating sprinkler or a high-pressure rotor head. Constant saturation will lead to wood rot and fungal growth, rendering the house uninhabitable. Instead, place them in zones serviced by drip irrigation or on the periphery of spray zones. Walkways should be designed to allow for easy access to these houses for maintenance without compacting the soil around sensitive root zones. Use natural flagstone or crushed slate to create a path that guides the observer toward the focal point, ensuring the transition between the manicured lawn and the wilder insect sanctuary feels deliberate and structured.
Plant and Material Selection
The following selection of plants and materials represents the gold standard for attracting ladybugs and constructing their dwellings. These species provide the necessary nectar and pollen that adult ladybugs require before they begin hunting aphids and mites.
| Plant Type | Sun Exposure | Soil Needs | Water Demand | Growth Speed | Maintenance Level |
| :— | :— | :— | :— | :— | :— |
| Yarrow (Achillea) | Full Sun | Well-drained | Low | Fast | Low |
| Dill (Anethum graveolens) | Full Sun | Loamy, rich | Moderate | Rapid | Medium |
| Coriander (Coriandrum) | Part Shade | Fertile | Moderate | Fast | Moderate |
| Calendula (C. officinalis) | Full Sun | Any, well-draining | Moderate | Fast | Low |
| Fennel (Foeniculum) | Full Sun | Well-drained | Moderate | Medium | Low |
| Cosmos (C. bipinnatus) | Full Sun | Average, dry | Low | Fast | Low |
Construction materials must be selected based on durability and chemical neutrality. Untreated cedar and redwood are the preferred lumbers due to their natural resistance to decay. Avoid any pressure-treated wood, as the infused copper or pesticides will repel the insects. For the interior nesting materials, use natural bamboo tubes, pine cones, and dried bark. These materials provide the varied nooks and crannies that ladybugs prefer for egg-laying and overwintering.
Implementation Strategy
The installation of backyard ladybug houses should be the final step in a comprehensive garden layout. Begin with proper grading of the site to ensure that water moves away from the base of the support posts. If you are installs a series of houses, use a laser level to ensure consistent height across the landscape, which reinforces the professional aesthetic. Once the site is graded, install metal landscape edging to define the borders of the insect-friendly planting bed. This prevents invasive turf grasses from encroaching on the specialized nectar plants.
Lay down a weed barrier fabric only if necessary, though a thick layer of organic mulch is usually preferred for soil health. Apply approximately 3 inches of hardwood mulch around the base of the house, keeping it a few inches away from the post to prevent moisture wicking. For the structure itself, use galvanized screws rather than nails to ensure longevity against the elements. The front of the house should be fitted with a mesh wire screen or a wooden facade with narrow vertical slits, approximately 0.5 inches wide, to allow ladybugs entry while keeping larger birds out. Finally, ensure the house faces the southeast to capture the early morning sun, which provides the thermal energy needed for the insects to become active after a cool night.
Common Landscaping Failures
The most frequent failure in integrating backyard ladybug houses is poor drainage. If the garden bed sits in a low point of the property, the increased humidity can cause the internal nesting materials to mold. Another common mistake is root overcrowding; planting large shrubs too close to the house can eventually envelope the structure, blocking the entry points and cutting off sunlight. Professional planners must account for the mature width of all surrounding flora to maintain a clear flight path for the insects.
Soil compaction is another critical issue. Frequent foot traffic around the house to observe the ladybugs can compress the soil, damaging the root systems of the very plants meant to provide them food. Utilizing stepping stones or permeable pavers can mitigate this risk. Additionally, irrigation inefficiencies, such as uneven coverage or over-watering, can create an environment that is too damp for ladybugs, who prefer a drier, temperate microclimate for their eggs. Always ensure that the irrigation controller is calibrated to the specific needs of the local plant palette rather than a “one size fits all” schedule.
Seasonal Maintenance
Landscape management is a year-round commitment. In the spring, inspect the ladybug houses for any structural damage caused by winter storms. This is the time to clean out any old debris, though you should be careful not to disturb any currently hibernating residents if the temperatures are still regularly dropping below 50 degrees Fahrenheit. Apply a fresh 2 inch layer of compost to the surrounding garden beds to jumpstart the growth of nectar-producing plants.
During the summer, the focus shifts to irrigation monitoring and deadheading flowers like Calendula to encourage continuous blooming. Ensure the houses remain shaded during the hottest part of the afternoon if you live in an arid climate. In autumn, leave the fallen leaves in the garden beds; this provides natural leaf litter that ladybugs use as secondary shelter. Do not prune back your perennials too early. The hollow stems of plants like Joe Pye Weed or Elderberry provide additional overwintering sites. In winter, maintenance is minimal. Avoid moving or painting the houses during this time. The goal is to provide a stable, undisturbed environment for the beneficial insects to survive the frost, ensuring a healthy population is ready to emerge the following spring.
Professional Landscaping FAQ
Where is the best place to put ladybug houses?
Mount the house on a sturdy post in a location that receives morning sunlight but is protected from prevailing winds. It should be situated near aphid-prone plants like roses or milkweed at a height of 3 to 5 feet.
What is the ideal material for the interior?
Use a mixture of hollow bamboo reeds, dry straw, and corrugated cardboard. These materials offer various diameters for different ladybug species to crawl into. Ensure all materials are free from synthetic dyes, glues, or chemical preservatives.
Do I need to “stock” the house with ladybugs?
While you can purchase ladybugs, it is often more effective to attract local populations naturally. Providing the right habitat and a diverse range of native plants ensures that the insects staying in your house are already adapted to your local climate.
How do I prevent bees or wasps from moving in?
Ladybug houses typically feature narrow slits that are difficult for large social bees or wasps to enter. If you find undesired insects, avoid using pesticide sprays. Instead, manually remove old nesting material in early spring to reset the habitat for ladybugs.
How long will a cedar ladybug house last?
A well-constructed house made from 3/4 inch cedar boards can last between 5 and 10 years depending on the local climate. Applying a coat of natural linseed oil to the exterior can further extend its lifespan without harming the insects.