
Designing a residential landscape that bridges the gap between sophisticated aesthetics and high energy play requires a shift in perspective. Most homeowners view play structures as separate from the garden, often tucking a swing set into a far corner where it becomes an eyesore or an island of mud. However, professional Backyard Play Zone Layouts prioritize architectural integration, ensuring that the transition between adult entertaining spaces and child centric zones is seamless. This process begins with an assessment of the site’s topography and local climate. In regions with high rainfall, the play zone must be the most efficiently drained area of the property to prevent soil compaction and fungal growth. Conversely, in arid climates, the layout must incorporate natural shade or structural sails to prevent equipment from reaching dangerous temperatures. A well executed design not only preserves the curb appeal of the home but also increases the property value by demonstrating an intentional, multi-functional use of outdoor space.
Landscape Design Principles
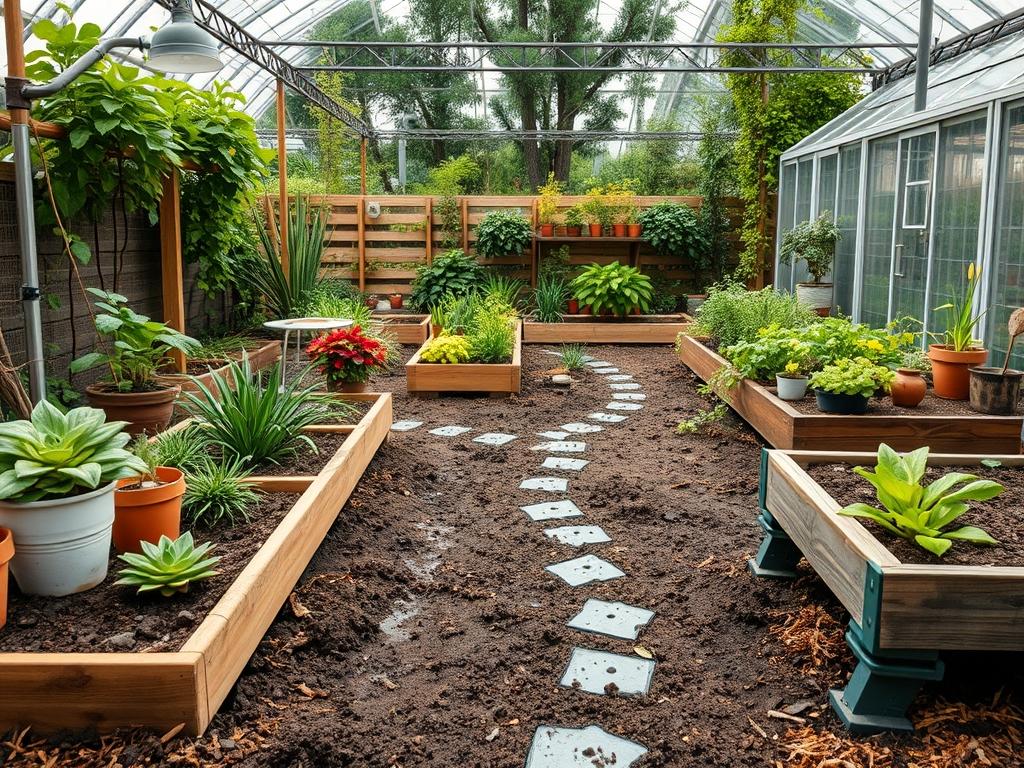
Structural integrity in Backyard Play Zone Layouts is achieved through the application of core design principles like symmetry and visual balance. When placing a large play structure, it should act as a secondary focal point that complements the primary architectural features of the home. If the house features a modern, linear design, the play area should mirror those clean lines through the use of rectangular Steel edging or geometric Stone pavers. Balance is achieved by mirroring the mass of a large playset with weighted plantings on the opposite side of the yard, such as a cluster of Evergreen trees or a substantial stone retaining wall.
Elevation layers are equally critical. Instead of leveling the entire yard, which can look sterile, architects often use tiered levels to define different zones of activity. A sunken play pit filled with Engineered Wood Fiber can be bordered by a raised masonry wall that serves as both a boundary and overflow seating for adults. This layering creates a sense of enclosure and safety. Furthermore, the circulation path or walkway must be wide enough, usually at least 36 inches, to allow for safe movement between zones. Irrigation planning must also be precise; headers and Rotary nozzles should be positioned to avoid spraying wooden equipment or metal components, which leads to premature rot and rust.
Plant and Material Selection
The following table outlines plants and materials that provide durability and safety within active play environments.
| Plant Type | Sun Exposure | Soil Needs | Water Demand | Growth Speed | Maintenance Level |
| :— | :— | :— | :— | :— | :— |
| Zoysia Grass | Full Sun | Well-drained | Moderate | Slow | Low |
| Blue Star Creeper | Partial Shade | Loamy | Medium | Fast | Moderate |
| English Lavender | Full Sun | Sandy / Alkaline | Low | Moderate | Prune Annually |
| Arborvitae | Full Sun | Moist / Rich | Medium | Moderate | Low |
| Creeping Thyme | Full Sun | Poor / Sandy | Low | Fast | Minimal |
| Serviceberry | Partial Shade | Multi-type | Medium | Moderate | Seasonal Cleanup |
Material selection for the ground plane is the most important safety decision in the layout. While natural grass is aesthetically pleasing, it rarely survives the high traffic of a “swing zone” or “slide exit.” For these high impact areas, professionals recommend a depth of at least 9 to 12 inches of Engineered Wood Fiber or Double-shredded bark mulch. These materials provide the necessary fall height protection required by safety standards. For a more permanent and low maintenance solution, Poured-in-place rubber or Interlocking rubber tiles offer excellent durability and come in various colors to match the home’s exterior palette.
Implementation Strategy
Planning the layout begins with a “site inventory” where you map out existing utilities, trees, and drainage patterns. Once the site is cleared, the grading process must ensure a 1 percent to 2 percent slope away from the play equipment and the home’s foundation. If the area is naturally low lying, installing a 4-inch perforated drainage pipe wrapped in Geotextile fabric (a French drain) is essential to keep the zone dry and usable.
After grading, define the “Use Zone.” For most playground equipment, this is a 6-foot clearance in every direction from the equipment. Once the perimeter is marked with Lumber crayons or Layout string, install your edging. Everedge steel or Pressure-treated 4×4 timbers work well to keep mulch contained. Inside this border, excavate to the required depth for your safety surfacing. If you are using wood mulch, lay down a layer of Landscape fabric to prevent weeds but ensure it is a high permeability version to allow water through. Finally, assemble the equipment using a Ratchet set and Torque wrench, ensuring every bolt is flush to prevent snagging clothing.
Common Landscaping Failures
The most frequent failure in Backyard Play Zone Layouts is the “Bath Tub Effect.” This occurs when a play area is excavated and lined with plastic, then filled with mulch without any drainage outlets. During rain, the area fills with water, turning the mulch into a floating, soggy mess that breeds mosquitoes. Always ensure there is an exit point for sub-surface water.
Another common error is root overcrowding. Planting a large shade tree too close to a play structure might seem like a good idea for summer heat, but as the Root flare expands, it will heave the ground and destabilize the swing set’s anchoring system. Aim for a minimum distance of 15 feet between large canopy trees and permanent structures. Soil compaction is also a silent killer of garden health. High foot traffic around play zones compresses the soil, cutting off oxygen to plant roots. To mitigate this, use Stepping stones in high traffic paths to direct footfall and protect the surrounding turf.
Seasonal Maintenance
Spring is the time for a “Safety Audit.” Check all hardware on the play structures and tighten any loose fasteners. Replenish mulch levels to maintain the 12-inch depth, as organic materials decompose and settle over the winter. Inspect the Drip irrigation emitters nearby to ensure they haven’t been crushed by activity.
During the summer, the focus shifts to hydration and heat management. If you have used Synthetic turf, it can become extremely hot; a quick spray with a Garden hose can lower the surface temperature significantly before playtime. In autumn, foliage removal is paramount. Damp leaves on wooden decks or rubber surfacing create a slip hazard and can stain materials. Winter maintenance involves protecting wooden components from moisture. Applying a Water-repellent sealant every two years will prevent the wood from checking or splintering. If you live in an area with heavy snow, clear the snow off the roof of any playhouse structures to prevent weight induced structural failure.
Professional Landscaping FAQ
What is the best mulch for playground safety?
Engineered Wood Fiber (EWF) is the industry standard. Unlike standard decorative mulch, it is processed to have soft edges and knits together to create a stable, impact absorbing surface that meets ASTM F1292 safety requirements for fall heights.
How do I prevent weeds in a rubber mulch zone?
Install a heavy duty Non-woven geotextile fabric beneath the mulch. This prevents soil mixing with the rubber and blocks weed growth while still allowing water to drain. Use Steel staples every 12 inches to keep the fabric from shifting.
Can I build a play zone on a slope?
Yes, but it requires a Timber retaining wall or a masonry tier to create a level “pad.” The equipment must be installed on a level surface. Use a Transit level to ensure the play area is perfectly flat before assembly.
What plants are safest near children’s play areas?
Choose non-toxic, thornless species like Snapdragons, Sunflowers, or Blue Fescue. Avoid plants with poisonous berries or those known to attract heavy bee populations, such as certain varieties of clover, directly within the high activity “Use Zone.”
How much space do I really need for a swing set?
Beyond the physical size of the unit, you must account for the 6-foot safety buffer on all sides. For swings, the buffer should extend twice the height of the swing bar both in front and behind to prevent collisions during use.