
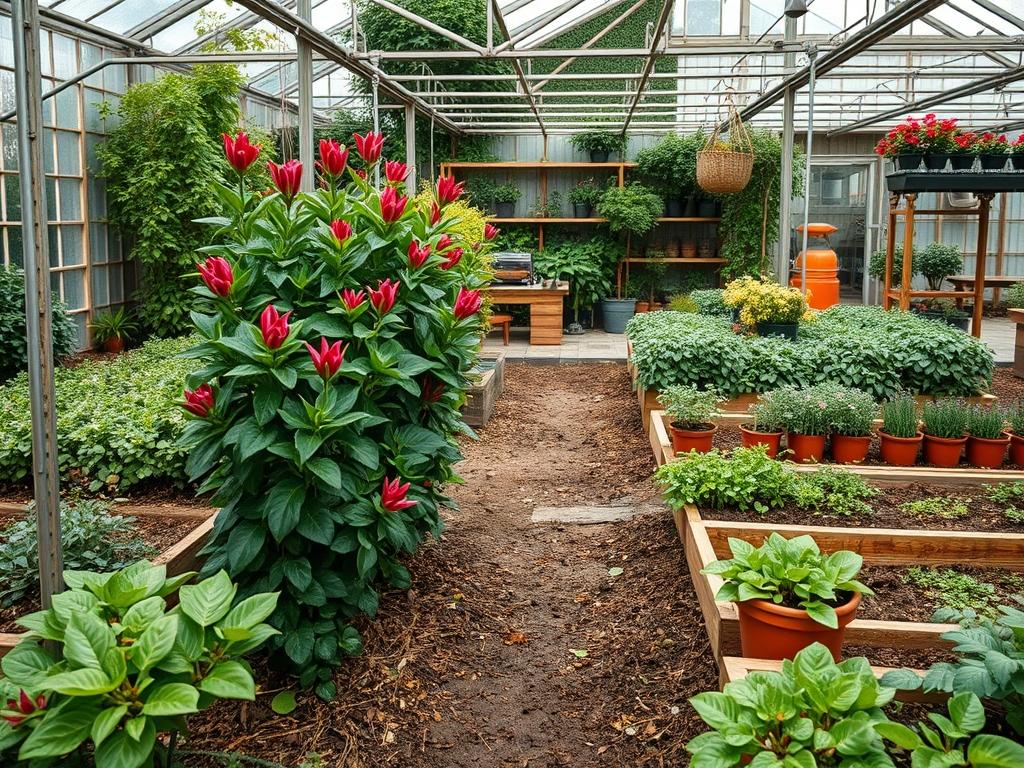
Achieving a secluded outdoor sanctuary requires a strategic approach to living boundaries, where the structural integrity of the landscape meets the aesthetic demands of the homeowner. The Red Tip Photinia, or Photinia x fraseri, serves as a cornerstone in modern landscape architecture due to its rapid growth and striking seasonal transitions. In professional site planning, we view a privacy hedge not merely as a line of shrubs, but as a functional “living wall” that manages wind, noise, and visual intrusion while enhancing property value. This evergreen shrub is particularly valued for its brilliant crimson new foliage, which provides a high-contrast backdrop for lower-level plantings. However, successful integration into a high-performance landscape requires careful consideration of local microclimates, soil chemistry, and the long-term maintenance cycles necessary to prevent common fungal pathogens. By prioritizing the structural health of the hedge from the initial design phase, a consultant ensures that the greenery serves its functional purpose for decades rather than just a few seasons.
Landscape Design Principles
In the realm of professional outdoor design, the placement of a Photinia hedge must adhere to fundamental principles of symmetry and visual balance. We often utilize these shrubs to define the perimeter of an outdoor room, creating a sense of enclosure that mimics the psychological safety of interior walls. When planning the layout, it is essential to consider the final elevation of the hedge; a Photinia can easily reach 10 to 15 feet in height, which can significantly alter the sunlight patterns for the rest of the garden. To avoid a monolithic or “boxy” appearance, landscape architects often incorporate layered planting. This involves placing the tall hedge at the rear, followed by a mid-level tier of native plants or ornamental grasses, and finished with low-lying groundcover. This technique creates a sense of depth and softens the verticality of the boundary.
Furthermore, integrating hardscaping elements like retaining walls or walkways requires precise measurements to allow for the mature spread of the plant. A common mistake is installing a walkway too close to the planting line, resulting in foliage that obstructs the path as the shrub matures to its typical 5 to 8-foot width. We also utilize the hedge as a focal point by manipulating the pruning shape. While a formal, sheared look offers a classic architectural feel, a more naturalistic, hand-pruned approach allows the crimson tips to emerge more sporadically, creating a textured, organic aesthetic. Regardless of the stylistic choice, the hedge must be positioned to complement the existing site drainage, ensuring that water does not pool at the base of the root balls, which can lead to root rot and instability.
Plant and Material Selection
Selecting the right specimens and supporting materials is the foundation of a resilient privacy screen. Below is a professional breakdown of the requirements for Photinia and common companion elements used in high-end privacy installations.
| Plant Type | Sun Exposure | Soil Needs | Water Demand | Growth Speed | Maintenance Level |
| :— | :— | :— | :— | :— | :— |
| Red Tip Photinia | Full Sun to Partial Shade | Well-drained, Loamy | Moderate | Fast (1-3 feet per year) | Moderate |
| Leyland Cypress | Full Sun | Adaptable, Well-drained | Moderate | Massive | High (Pruning) |
| Dwarf Boxwood | Full Sun to Shade | Slightly Acidic | Consistent | Slow | Low |
| Native Ornamental Grass| Full Sun | Sandy to Clay | Low (Drought Tolerant) | Fast | Very Low |
| Star Jasmine | Full Sun to Shade | Rich, Organic | Moderate | Medium | Moderate |
When sourcing your Photinia, look for specimens with thick lower branching rather than those that are “leggy” or sparse at the base. The quality of the soil amendments is equally vital; incorporating organic compost and expanded shale can improve the aeration of heavy clay soils, which is a frequent requirement in residential developments.
Implementation Strategy
The transition from a design blueprint to a flourishing hedge involves a systematic implementation process. The first stage is site preparation, which includes professional grading to ensure that surface runoff moves away from the planting trench. We recommend digging a continuous trench rather than individual holes. This trench should be twice as wide as the root balls to allow for lateral root expansion into loosened soil. Before placing any plants, use a pH testing kit to verify the soil is between 6.0 and 7.5. If the soil is too alkaline, sulfur may be added to increase acidity, which helps the Photinia maximize nutrient uptake.
Once the trench is prepared, spacing is the most critical variable. For a dense privacy screen, plants should be spaced 3 to 5 feet apart, measured from the center of each trunk. Proper spacing ensures that while the foliage eventually touches to form a solid wall, there is still sufficient internal airflow to prevent moisture from hovering on the leaves. After positioning the shrubs, backfill with a mixture of native soil and organic matter. Apply a 3-inch layer of hardwood mulch or pine bark around the base, ensuring the mulch does not directly touch the bark of the stem. This “donut” application of mulch retains moisture and regulates soil temperature without encouraging trunk rot. For irrigation, the installation of a drip system or soaker hoses beneath the mulch is far superior to overhead sprinklers. Moving water directly to the root zone keeps the foliage dry, which is the primary defense against Entomosporium leaf spot.
Common Landscaping Failures
The most prevalent failure in Photinia management is improper air circulation. When hedges are planted too closely to a solid fence or in a stagnant corner of the yard, the lack of wind movement allows fungal spores to proliferate. This often manifests as small red spots on the leaves that eventually turn grey and cause premature defoliation. Another frequent error involves irrigation inefficiencies. Homeowners often overwater in an attempt to accelerate growth, but saturated roots lead to oxygen deprivation and soil compaction. Utilizing a moisture meter can prevent this by ensuring the top 2 inches of soil are dry before the next watering cycle.
Furthermore, many fail to account for the competitive nature of root systems. When planting a hedge near large, established trees, the Photinia may struggle to access water and nutrients. In these scenarios, a root barrier or increased localized fertilization may be necessary. Finally, pruning at the wrong time of year can strip the plant of its vibrant red growth or leave it vulnerable to winter kill. Pruning should be a surgical process rather than a blunt shearing; removing individual branches back to a node promotes a thicker interior and reduces the dense “shell” that traps humidity inside the canopy.
Seasonal Maintenance
Maintenance requirements shift with the transition of the seasons, necessitating a proactive management schedule. In Spring, the focus is on growth stimulation and disease prevention. Apply a balanced slow-release fertilizer (such as a 10-10-10 formula) just as the new red buds begin to swell. This is also the time to apply a preventative fungicide if your region experiences high humidity or heavy spring rains. As we move into Summer, the priority shifts to hydration management. During periods of extreme heat, the Photinia may require deep watering twice a week. Monitor the leaves for wilting, but avoid “little and often” watering, which encourages shallow, weak root systems.
During Autumn, reduce fertilization to allow the plant to begin its hardening-off process. This is an excellent time to refresh the mulch layers to protect the roots from the upcoming winter chill. In Winter, maintenance involves structural pruning. While the plant is semi-dormant, remove any dead or crossing branches using sharp, sanitized bypass pruners. Cleaning your tools with rubbing alcohol between plants is a professional-grade tip that prevents the spread of pathogens across the entire hedge line. Winter is also the ideal time to adjust any retaining walls or edge borders that may have shifted due to soil expansion.
Professional Landscaping FAQ
How do I make my Photinia hedge thicker at the bottom?
Regularly prune the top third of the hedge to redirect the plant’s energy toward the lower lateral buds. This prevents the hedge from becoming top-heavy and ensures a solid wall of foliage from the ground up to the desired elevation.
What is the best fertilizer for vibrant red leaves?
A high-nitrogen fertilizer or a specialized acid-loving plant food encouraged vigorous new growth. Since the red color only appears on new foliage, consistent feeding in early spring and mid-summer promotes multiple flushes of the signature crimson color.
Can Photinia grow in heavy clay soil?
Yes, provided the site has been properly amended. Use a rototiller to incorporate gypsum or expanded shale into the clay. This improves the drainage and prevents the roots from sitting in stagnant water, which is a common foliage killer.
How often should I prune my privacy hedge?
For a formal look, prune two to three times per year during the growing season. For a more natural aesthetic, a single major pruning in late winter is sufficient to maintain the shape and health of the Photinia canopy.
Why are the leaves on my Photinia falling off?
This is typically caused by Entomosporium leaf spot, a fungal infection. To fix this, improve airflow by thinning the center of the plant, water only at the base, and clear away any fallen, infected leaves from the mulch surface.