
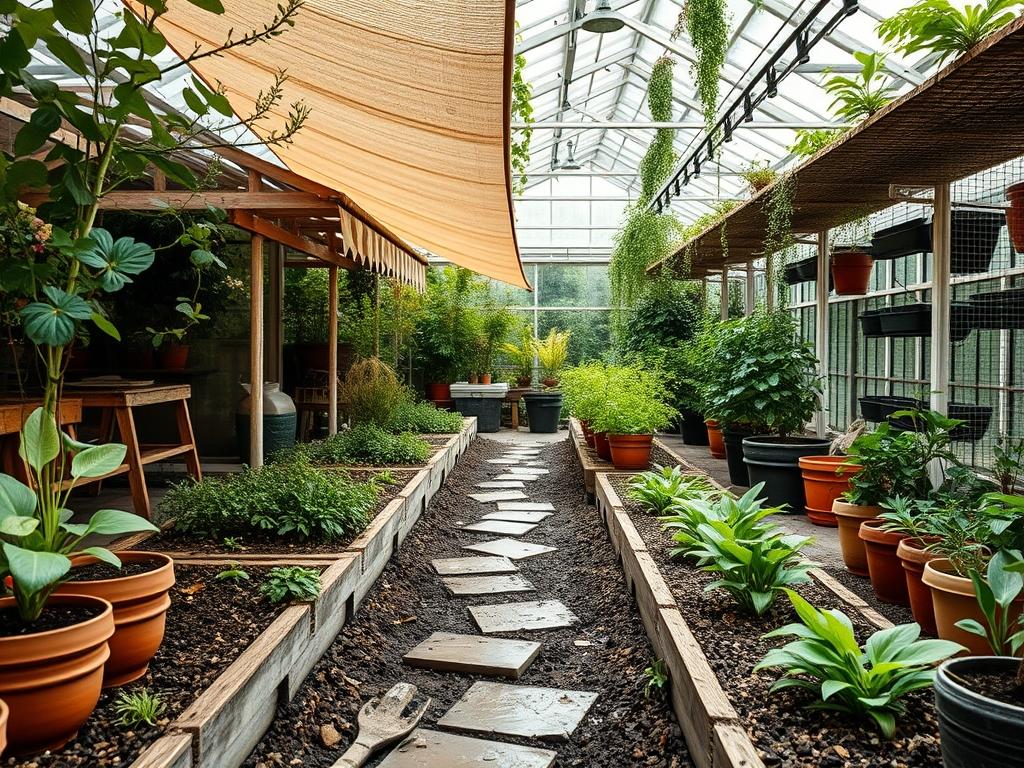
Creating a cohesive outdoor environment requires a delicate balance between architectural structure and biological vitality. As a landscape architect, I often view the backyard as an extension of the interior floor plan, where the ceiling is defined by the sky or, more practically, by strategic overhead structures. Integrating backyard manual awnings into a master plan provides a specific type of versatile utility that permanent rooflines cannot match. These systems allow homeowners to modulate the microclimate of their immediate patio area, protecting sensitive understory plantings and high end outdoor furniture from ultraviolet degradation or sudden precipitation. The challenge in modern landscape design is not merely aesthetic; it is a technical exercise in managing thermal gain, site drainage, and human circulation. When we position a manual awning, we are creating a focal point that dictates how the rest of the garden is viewed. The transition from the shaded comfort of the terrace to the vibrant intensity of a sun-drenched perennial border must feel intentional. This is achieved through thoughtful grading, the selection of durable hardscape materials like Natural Blue Stone or Permeable Pavers, and a planting palette that respects the shifting shadows cast by the awning across different hours of the day.
Landscape Design Principles
Successful garden planning relies on established architectural principles that guide the eye and facilitate movement. Symmetry plays a vital role here, especially when aligning backyard manual awnings with the primary egress of the home. A centered installation creates a sense of formality, whereas an asymmetrical placement can define a cozy, private nook away from the main house. We use focal points, such as a large Glazed Ceramic Urn or a specimen tree like a Paperbark Maple, to draw the viewer through the space.
Elevation layers are equally critical. A flat yard often feels uninspired, so we introduce interest through raised masonry planters or recessed seating areas. These varying heights interact with the awning to create “outdoor rooms” that feel protected yet open. Irrigation planning must be integrated at this conceptual stage, ensuring that water lines for Drip Emitters are buried beneath the hardscape before any stone is laid. Walkways should be at least 36 inches wide to allow for comfortable passage, utilizing materials that provide a high coefficient of friction to prevent slips when the awning is retracted during rain. Finally, visual balance is achieved by mirroring the bulk of the awning with low-growing, dense shrubbery on the opposite side of the patio, grounding the structure within the horizontal plane of the landscape.
Plant and Material Selection
Selecting the right flora ensures that the area under and around your awning remains lush and manageable. The following table highlights species that thrive in the varied light conditions created by adjustable shade structures.
| Plant Type | Sun Exposure | Soil Needs | Water Demand | Growth Speed | Maintenance Level |
| :— | :— | :— | :— | :— | :— |
| Boston Ivy | Full Sun to Shade | Well-Drained Loam | Moderate | Fast | Moderate (Pruning) |
| Hosta (Shadowland) | Full Shade | Organic Rich | High | Medium | Low |
| English Lavender | Full Sun | Sandy/Gritty | Low | Medium | Low (Deadheading) |
| Boxwood (Green Velvet) | Partial Sun | Neutral pH | Moderate | Slow | High (Shaping) |
| Japanese Maple | Filtered Sun | Slightly Acidic | Moderate | Slow | Low |
| Creeping Thyme | Full Sun | Poor/Well-Drained | Low | Medium | Very Low |
Implementation Strategy
The transition from a blueprint to a finished landscape requires a disciplined sequence of operations. First, site grading is paramount. We use a Transit Level to ensure the ground slopes away from the home foundation at a minimum rate of 2 percent, or a 1-inch drop for every 4 feet of distance. This prevents water from pooling under the awning area. Once the grade is established, we mark the perimeter of the hardscape using Inverted Marking Paint and Wooden Stakes.
For the sub-base, a 6-inch layer of Compacted 21A Crushed Stone provides the necessary structural integrity for the patio. This is followed by a 1-inch setting bed of Coarse Sand. When installing backyard manual awnings, the mounting surface must be inspected for structural stability. We typically use Lag Bolts at least 4 inches in length to secure the brackets into the house rim joist or wall studs.
After the hardscape and awning are in place, we focus on edging. Using Heavy-Duty Aluminum Edging helps maintain a crisp line between the lawn and the planting beds. For the plantings, we apply a 3-inch layer of Double-Shredded Hardwood Mulch. This depth is optimal for moisture retention and weed suppression without suffocating the root flares of the shrubs. Drainage should be further managed by installing 4-inch Corrugated NDS Pipe for any downspouts that discharge near the patio, directing that water toward a designated bioswale or rain garden.
Common Landscaping Failures
The most frequent error in residential landscaping is the “bathtub effect,” which occurs when a planting hole is dug into heavy clay and filled with light potting soil. This creates a basin where water collects, eventually drowning the roots. We solve this by amending the entire planting bed rather than individual holes. Another significant issue is root overcrowding. Designing with the “mature width” of a plant in mind is essential. A Leyland Cypress might look small in a 3-gallon container, but it will quickly overwhelm a patio space if planted too close to backyard manual awnings.
Soil compaction is often overlooked. During construction, heavy machinery or even constant foot traffic can compress the soil pores, stripping the earth of oxygen. We utilize Steel Tined Rakes and Mechanical Aerators to fix this before any sod is laid. Furthermore, improper spacing of Pop-up Sprinkler Heads leads to dry spots or “overspray” that can damage the fabric of manual awnings. We recommend a “head-to-head” coverage model to ensure every square inch of the landscape receives uniform hydration without wasting water on hard surfaces.
Seasonal Maintenance
A landscape is a living system that requires rhythmic care throughout the year. In the spring, the focus is on reactivation. This involves applying a Slow-Release Granular Fertilizer and a Pre-emergent Herbicide to prevent crabgrass. We also inspect the mechanical arms of the backyard manual awnings, lubricating the hinge points with a Silicone-Based Spray to ensure smooth operation during the upcoming sunny months.
Summer maintenance centers on hydration and deadheading. As temperatures rise, we increase the frequency of the Irrigation Controller but keep the duration long to encourage deep root growth. In autumn, the priority shifts to leaf management. Allowing wet leaves to sit on a patio or an awning fabric can lead to mold and permanent staining. Use a Gas-Powered Leaf Blower to clear the surfaces weekly. Before the first frost, we blow out the irrigation lines using an Air Compressor to prevent pipe bursts. Winter is the time for structural audits. While backyard manual awnings should be retracted during snowstorms to avoid weight-load damage, it is an excellent time to prune deciduous trees like the Honey Locust while they are dormant, ensuring they maintain a pleasing shape for the next growing season.
Professional Landscaping FAQ
How do I choose the right color for my awning fabric?
Select a hue that complements the secondary accents of your home, such as the shutters or trim. Earth tones like Slate Gray or Sandstone hide organic debris and bird droppings better than vibrant, solid primary colors.
Can I install a manual awning on a stucco exterior?
Yes, but you must use Epoxy-Set Anchors or specialized Stucco Mounting Brackets. It is essential to reach the structural framing behind the foam and finish layers to ensure the unit can withstand wind uplift forces.
Does mulch need to be replaced every year?
Annual top-dressing with 1 inch of fresh mulch is recommended. This refreshes the color and compensates for the decomposition of the bottom layer, which gradually improves your soil structure by adding organic matter back into the earth.
Is a French drain necessary for my patio?
If your yard has a high water table or if the patio is at the bottom of a slope, a French Drain using Perforated Pipe and Clean Gravel is a vital safeguard against pavers shifting or “floating” during a freeze-thaw cycle.
How do I keep my manual awning from squeaking?
Regularly clean the tracks and joints with warm, soapy water to remove grit and salt. Apply a dry Teflon Lubricant to the moving parts. Moving parts should never be greased with heavy oils, as these attract dust and accelerate wear.