
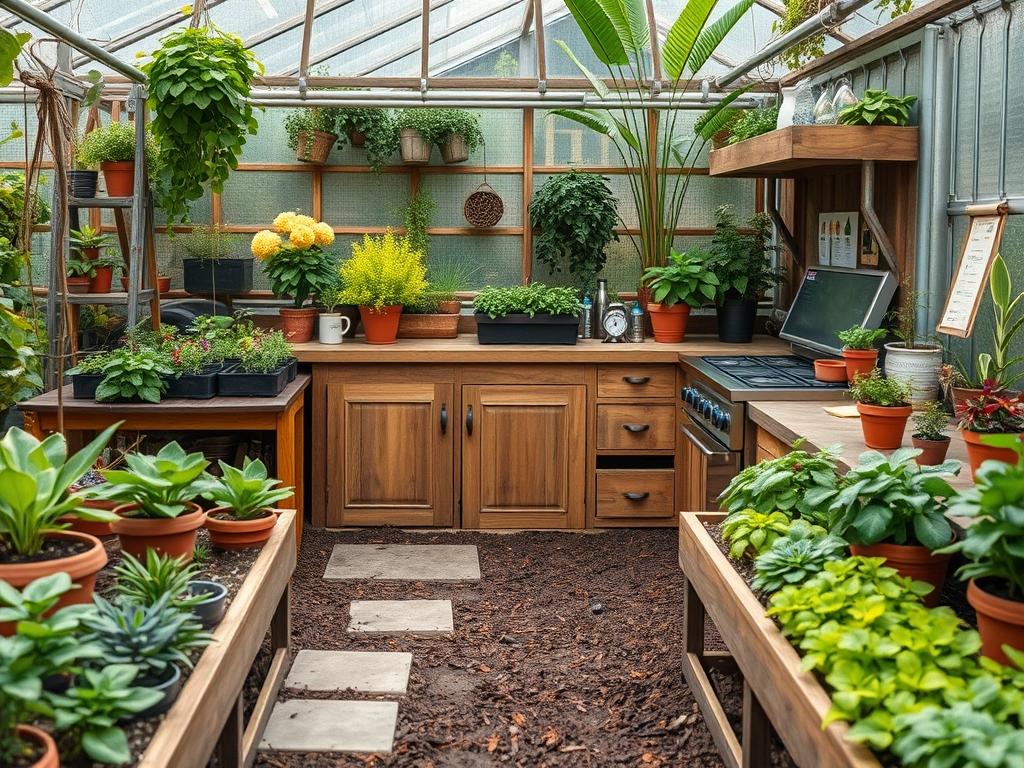
Transitioning a traditional backyard into a high-functioning culinary retreat requires more than just a grill and a patio set. For the modern homeowner, the integration of Backyard Outdoor Kitchen Kits represents a shift toward sophisticated, modular utility that mirrors interior luxuries. These prefabricated systems solve the primary landscaping challenge of creating a cohesive structural footprint without the logistical nightmares of custom masonry from scratch. When planning these spaces, one must consider local climate variables, such as high-velocity wind zones or heavy snow loads, which dictate the placement and anchoring requirements of the modules. A well-placed kitchen assembly increases the curb appeal of a property significantly, transforming an underutilized lawn into a defined focal point. The ultimate goal is to harmonize functionality with the existing topography, ensuring that the transition from the indoor kitchen to the outdoor preparation area feels like a natural extension of the home architecture.
Landscape Design Principles
Successful integration of Backyard Outdoor Kitchen Kits relies heavily on the principle of symmetry and the establishment of clear focal points. When a kitchen kit is installed, it carries significant visual weight. To balance this, designers often use “mirroring” techniques, such as placing a Pergola or a large architectural planter on the opposite side of the patio. This prevents the space from feeling lopsided. Elevation layers also play a critical role. By placing the kitchen on a slightly raised platform, perhaps created with Natural Stone Pavers or a low Retaining Wall, you define the cooking zone as a distinct “room” without the need for walls.
Irrigation planning must be addressed during the early design phase rather than as an afterthought. You should never place a kitchen kit directly over existing sprinkler heads. Instead, reroute Polyethylene Tubing to ensure that nearby plantings receive hydration without spraying the Stainless Steel Appliances. Walkways should be at least 48 inches wide to allow for comfortable traffic flow between the house and the cooking station. Using Flagstone or Cobblestone for these paths creates a textured contrast against the smooth finish of the kitchen cabinetry. Finally, visual balance is achieved by grounding the vertical elements of the kitchen with low-profile groundcovers or decorative River Rock.
Plant and Material Selection
The following table outlines the best choices for surrounding your outdoor kitchen area, focusing on species that provide aesthetic value without dropping excessive debris into your cooking zone.
| Plant Type | Sun Exposure | Soil Needs | Water Demand | Growth Speed | Maintenance Level |
| :— | :— | :— | :— | :— | :— |
| Rosmarinus officinalis | Full Sun | Well-Drained | Low | Moderate | Low |
| Buxus microphylla | Partial to Full | Loamy/Rich | Moderate | Slow | Medium |
| Lavandula angustifolia | Full Sun | Sandy/Gritty | Low | Moderate | Low |
| Miscanthus sinensis | Full Sun | Adaptable | Medium | Fast | Low |
| Thuja occidentalis | Full Sun/Part | Moist/Standard | Moderate | Moderate | Medium |
| Ilex glabra | Part Sun/Shade | Acidic/Moist | High | Slow | Medium |
Implementation Strategy
The process begins with precise site grading. You must ensure the area has a 2 percent slope away from your home foundation and the kitchen island itself to prevent water pooling. Once the grade is established, the base must be excavated to a depth of at least 8 inches. Fill this space with 6 inches of compacted crushed stone, followed by a 2 inch layer of leveling sand. This provides a stable, non-shifting foundation for the Backyard Outdoor Kitchen Kits. Use a Plate Compactor to ensure the base is rock-solid; a soft base will lead to cracked countertops and misaligned cabinet doors over time.
For edging, use Steel Edging or Heavy-Duty Plastic Edging to create a crisp border between the kitchen patio and the lawn. This prevents grass from creeping into the cooking area. When applying mulch, maintain a 3 inch depth of Hardwood Shredded Mulch or Cedar Bark. Avoid placing mulch directly against the base of the kitchen cabinets. Instead, leave a small gap filled with Pea Gravel to allow for drainage and to prevent moisture from wicking into the cabinet frames. For hardscaping, ensure all joints between pavers are filled with Polymeric Sand, which hardens to prevent weed growth and insect infestation. If you are adding a sink, ensure the PVC Drainage Pipe is sloped correctly toward a dry well or a designated gray-water runoff area.
Common Landscaping Failures
The most frequent error in outdoor kitchen installation is poor drainage management. Many DIY enthusiasts place kitchen kits on a flat concrete pad that lacks a drainage pitch. This causes water to sit against the base of the unit, leading to rust or mold. Another issue is root overcrowding. Planting large trees like Acer rubrum too close to the kitchen will eventually lead to the roots lifting the pavers or even shifting the kitchen modules. Maintain a distance of at least 15 feet between large canopy trees and your hardscape.
Improper spacing is also a major concern. There should be a minimum of 36 inches of clear space around the grill for the cook to move freely. Soil compaction is often overlooked during construction. If the heavy kitchen modules are placed on uncompacted soil, the units will settle unevenly, causing gas lines or water connections to strain and eventually leak. Finally, irrigation inefficiencies occur when homeowners use high-arc sprayers near the kitchen. The mineral content in city water can leave stubborn “hard water” stains on Granite Countertops and Stainless Steel, requiring constant cleaning.
Seasonal Maintenance
Spring is the time for a “deep clean” and structural inspection. Check the joints of your Pavers for any sign of shifting during the winter freeze and thaw cycles. Re-apply Polymeric Sand where needed. Inspect the Backyard Outdoor Kitchen Kits for any loose screws or hinges and apply a fresh coat of Stainless Steel Protector. This is also the season to prune your Boxwood and Rosemary to maintain the desired shape and size.
In the summer, focus on irrigation. Ensure that your Drip Irrigation System is functioning correctly to support the plants near the heat of the grill. High temperatures can dry out soil faster near a hot cooking surface. Use a Pressure Washer on a low setting to keep the patio surface free of grease and food spills, which can attract pests.
Autumn requires preparation for the dormant season. Clean out all gutters on nearby structures to prevent overflow onto the kitchen. This is the ideal time to apply a Granite Sealer to the countertops to protect them from winter moisture. Plant your spring-flowering bulbs in the surrounding garden beds during this window.
Winter maintenance is largely about protection. If you live in a cold climate, shut off the water supply to the outdoor sink and blow out the lines using an Air Compressor to prevent burst pipes. Use high-quality Vinyl Covers for the kitchen modules. Avoid using De-icing Salts on the pavers surrounding the kitchen, as the salt can corrode the base of the kitchen kit and damage the soil chemistry of your nearby plants.
Professional Landscaping FAQ
How do I choose the best location for my kitchen kit?
Place the kit on a level surface with convenient access to indoor plumbing and gas lines. Consider the prevailing wind direction to ensure smoke from the Grill blows away from guest seating areas and open house windows.
Can I install a kitchen kit on an existing wooden deck?
You must verify the deck’s weight capacity first. Most Backyard Outdoor Kitchen Kits are heavy, especially those with Stone Veneer. You may need to add 4×4 Support Posts and joist blocking to ensure structural integrity and safety.
What is the best way to handle kitchen runoff?
Install a French Drain or a specialized Drainage Channel along the perimeter of the kitchen patio. This directs rainwater and cleaning runoff into a dry well, preventing the soil near your Foundation from becoming oversaturated.
Do I need a permit for a pre-made kitchen kit?
Requirements vary by municipality, but most regions require a permit if you are extending Natural Gas or Electrical Lines. Always consult your local building department to ensure compliance with fire codes and setback regulations.
How do I prevent weeds from growing around the kitchen base?
Use a professional-grade Geotextile Fabric under your base material. Combine this with Polymeric Sand in the paver joints and a Steel Edge border. These layers create a formidable barrier that prevents seeds from germinating in the substrate.