
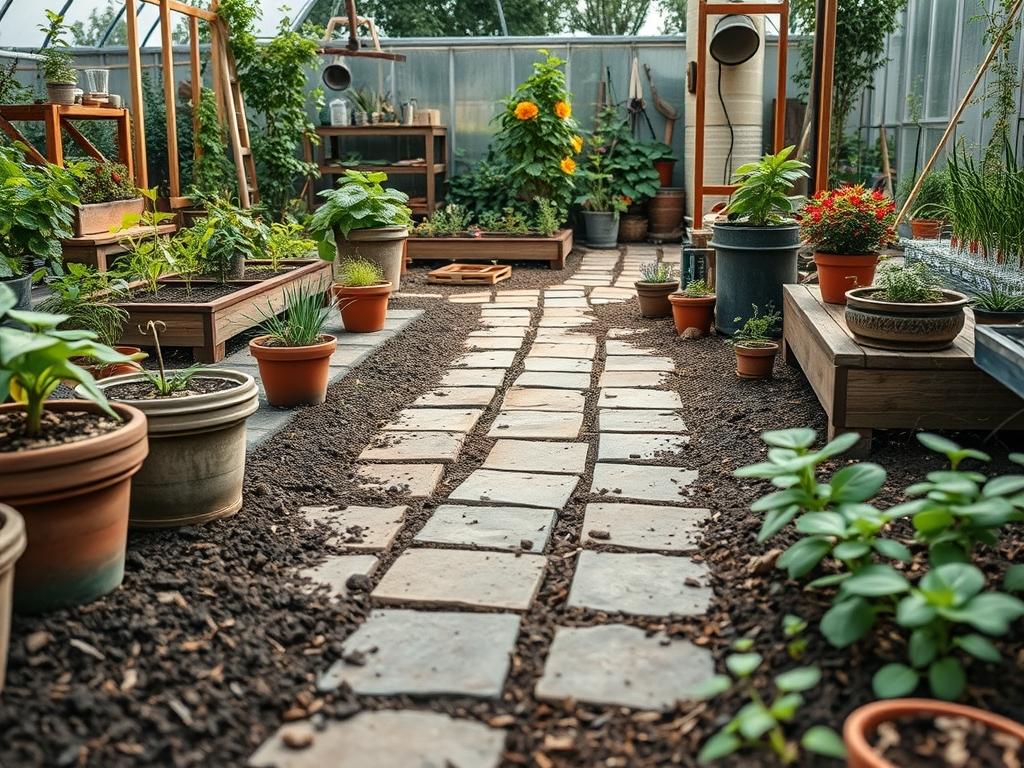
Homeowners often view a backyard patio as a finished project once the last stone is set, yet the longevity of these surfaces depends heavily on the finishing details. The most pervasive threat to a pristine hardscape is the intrusion of weeds and organic debris between the units. Backyard Paver Joint Sanding serves as the primary defense against this encroachment, acting as a structural sealant that prevents airborne seeds from finding a hospitable environment. When pavers are left with open joints, they become a magnet for moisture and windblown sediment; this creates a perfect nursery for resilient weeds that can eventually dislodge the stones. In our professional experience as landscape architects, neglecting this step leads to shifting, tripping hazards, and a significant decline in curb appeal. Effective landscaping requires a holistic approach where the hardscape and softscape work in tandem to ensure functionality, drainage efficiency, and aesthetic harmony.
The climate of your specific region plays a massive role in how these materials behave over time. In areas with high humidity or frequent rainfall, unprotected joints quickly fill with silt, providing the organic matter necessary for germination. By utilizing high quality Polymeric Sand, you create a semi-rigid barrier that remains flexible enough to handle thermal expansion but firm enough to repel unwanted growth. This process is not merely about looks; it is about protecting the base layers of your installation. If water infiltrates the joints and washes away the bedding layer, the entire patio may settle unevenly. Proper sanding ensures that every Concrete Paver or Natural Stone unit stays locked in place, maintaining the intentional lines of your landscape design.
Landscape Design Principles
A successful outdoor environment relies on the careful application of symmetry and visual balance to guide the eye through the space. When planning a backyard, we often begin with focal points, such as a custom Fire Pit, a large Specimen Tree, or a water feature. These elements serve as the anchor for the rest of the design. Symmetry does not always mean a mirror image; rather, it refers to the distribution of visual weight. For example, a heavy Retaining Wall on the left side of a property can be balanced by a dense cluster of Evergreen Shrubs on the right. This balance creates a sense of permanence and order that elevates the entire property value.
Elevation layers are equally critical in modern landscape architecture. By creating multi-leveled terraces or using raised planters, you add depth to a flat yard. These changes in height allow for better Drainage Planning and can help delineate different functional zones, such as a dining area versus a lounging area. Walkways should be designed to flow naturally between these zones, using wide turns rather than sharp angles to encourage a relaxed pace. Integrating Low Voltage Lighting along these paths ensures safety and extends the usability of the space into the evening hours. Every design choice must account for how water moves across the surface. Grading the land at a 2 percent slope away from the home foundation is a non-negotiable standard that prevents structural damage and ponding.
Plant and Material Selection
Choosing the right materials and flora is a balancing act between aesthetic desires and the biological realities of your site. Below is a guide for selecting common landscape components that complement hardscape installations.
| Plant Type | Sun Exposure | Soil Needs | Water Demand | Growth Speed | Maintenance Level |
| :— | :— | :— | :— | :— | :— |
| Boxwood | Full to Partial | Well-drained | Moderate | Slow | Low |
| Lavender | Full Sun | Sandy/Gravelly | Low | Medium | Low |
| Creeping Thyme | Full Sun | Poor to Sandy | Low | Fast | Medium |
| Blue Star Creeper | Partial Sun | Moist/Loamy | Moderate | Fast | Moderate |
| Dwarf Alberta Spruce | Full Sun | Slightly Acidic | Moderate | Very Slow | Low |
| Switchgrass | Full Sun | Any / Adaptable | Low | Fast | Low |
| Japanese Maple | Partial Shade | Rich / Organic | High | Slow | Medium |
Implementation Strategy
The execution of a landscape plan begins with precise site preparation. First, the area must be cleared of all existing vegetation and debris. We recommend an excavation depth of at least 8 inches for pedestrian walkways and 12 inches for patios to accommodate the necessary sub-base. The sub-base typically consists of Crushed Limestone or 3/4-inch Clean Stone, which must be compacted in 2-inch lifts using a vibratory Plate Compactor. This ensures a solid foundation that will not shift under pressure. Once the base is level, a 1-inch layer of Bedding Sand is screeded across the surface to provide a smooth plane for the pavers to sit upon.
After the pavers are laid according to the desired pattern, the process of Backyard Paver Joint Sanding begins. It is vital that the pavers are completely dry before applying Polymeric Sand. The sand is swept into the joints using a Push Broom, ensuring every gap is filled to within 1/8 inch of the paver chamfer. A second pass with the Plate Compactor helps settle the sand deep into the joints, eliminating air pockets. Finally, the surface is blown clean of excess dust, and a fine mist of water is applied to activate the polymers. This creates the hardened seal that prevents weed growth and resists erosion from heavy rain.
Common Landscaping Failures
The most frequent mistake in residential landscaping is improper drainage management. When water is not directed away from the hardscape, it accumulates beneath the pavers, leading to a phenomenon known as pumping. This occurs when the weight of traffic forces water and fine sediment up through the joints, eventually hollowing out the foundation and causing the stones to sink or tilt. Furthermore, failing to install a sturdy Edge Restraint will result in lateral shifting. Without a Plastic Paver Edge or a Concrete Tufted Border, the outer rows of stones will eventually migrate into the surrounding turf, opening wide gaps that are impossible to keep weed-free.
Another common failure involves root overcrowding and improper plant spacing. It is tempting to plant closely to achieve an instant full look, but this leads to competition for nutrients and stunted growth within a few seasons. Over time, large roots from trees planted too close to a patio can lift the pavers, necessitating expensive repairs. Soil compaction is also a hidden enemy. If the soil in planting beds is not properly amended with Organic Compost and aerated, it becomes a hard crust that prevents oxygen and water from reaching the root zone. This stress makes plants more susceptible to pests and diseases, undermining the health of the entire environment.
Seasonal Maintenance
To keep your backyard in peak condition, a seasonal management schedule is essential. During the Spring, focus on cleaning the paver surface with a Pressure Washer on a low setting and inspecting the joints for any loss of sand. If gaps have appeared, this is the time to perform spot repairs with new Joint Sand. Prune any winter-damaged branches and apply a fresh 3-inch layer of Mulch to planting beds to retain moisture and suppress weeds.
As Summer arrives, irrigation becomes the priority. Monitor your Drip Irrigation System to ensure even coverage, especially during heat waves. Deadhead spent blooms on perennials to encourage a second flush of flowers. When Autumn begins, clear fallen leaves promptly. Decaying organic matter on pavers can cause permanent staining and provides a food source for weed seeds to grow in the joints come spring. This is also the best time for core aeration of the lawn. In Winter, avoid using harsh de-icing salts on your pavers, as these chemicals can break down the sealant and damage the stone surface. Instead, use Alternative De-icers or simple sand for traction to preserve the integrity of your Backyard Paver Joint Sanding.
Professional Landscaping FAQ
How does joint sand actually stop weeds from growing?
Backyard Paver Joint Sanding involves using specialized polymers that harden when dampened. This creates a physical barrier that prevents windblown seeds from reaching the soil below, while also eliminating the cracks where moisture and organic matter typically accumulate.
Can I use regular play sand for my paver joints?
Regular sand lacks the binding agents found in Polymeric Sand. It will eventually wash away during rainstorms or be blown out by leaf blowers, leaving the joints empty and vulnerable to weed infestation, ant mounds, and structural shifting.
How often should I replace the sand in my pavers?
Generally, a high quality application lasts between 3 to 5 years. If you notice significant erosion, cracking, or moss growth in the joints, it is time to clean out the old material and top it off with fresh sand.
Will sanding my pavers help with drainage issues?
While the joints are sealed to prevent erosion, the overall slope of the patio handles the drainage. Proper Backyard Paver Joint Sanding ensures that water runs off the surface into designated drains rather than soaking through and destabilizing the base.
What is the best way to clean pavers before resanding?
Use a Stiff Bristle Brush and a specialized Paver Cleaner to remove oils and dirt. If you use a Pressure Washer, be careful not to gouge out the bedding layer. Ensure the stones are dry for at least 24 hours.