
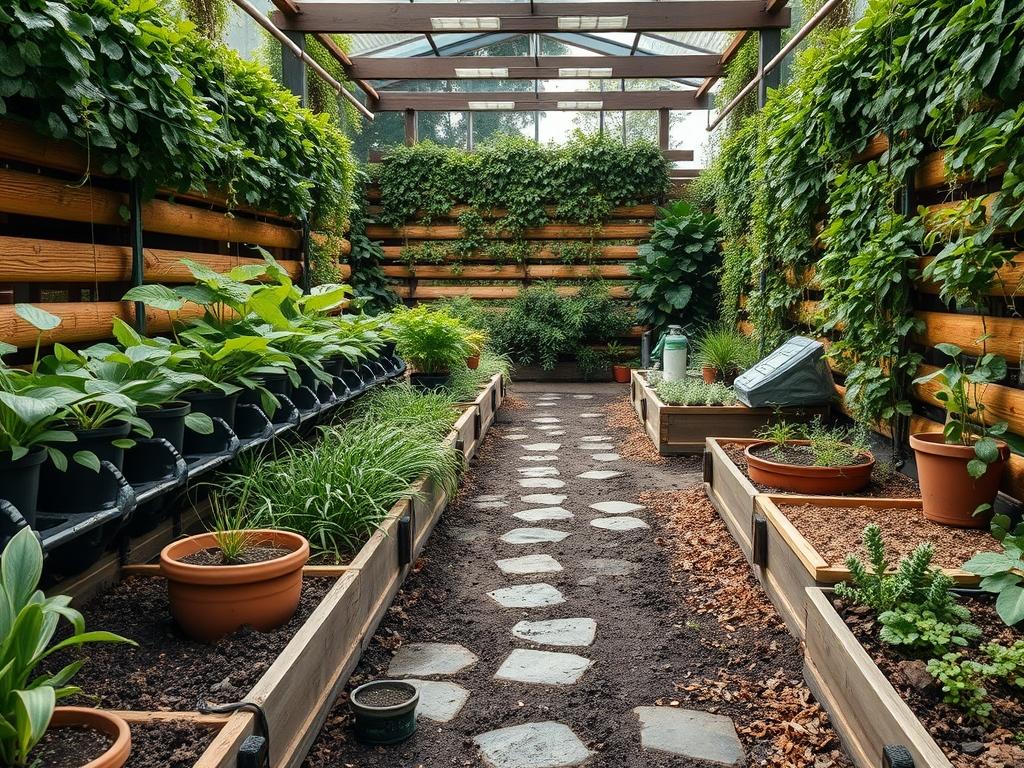
Privacy is the primary objective for many homeowners, yet a standard wooden fence often feels restrictive and industrial. In the realm of high-end landscape architecture, we view the boundary of a property not as a hard stop, but as a living tapestry. Achieving a functional, private sanctuary requires a shift from static construction to dynamic biological design. Unlike cedar or vinyl, a living privacy wall matures, breathes, and offers a shifting aesthetic throughout the seasons. This approach enhances curb appeal significantly while providing environmental benefits such as sound attenuation, wind reduction, and natural cooling. To succeed, one must balance the structural requirements of the site with the physiological needs of the chosen species. We must consider the Hardiness Zone, the specific microclimate of the backyard, and the long term maintenance requirements of the installation.
A well-designed living wall serves as the backbone of the outdoor environment. It dictates the flow of the garden, creates “outdoor rooms,” and masks unsightly utility structures or neighboring views. When planning these boundaries, we prioritize the hierarchy of the landscape. This means ensuring that the wall does not overwhelm the property but rather integrates into a cohesive theme. Whether you are aiming for a formal English garden or a modern minimalist retreat, the placement of evergreen or deciduous screens should be deliberate. Factors such as the path of the sun, the prevailing wind direction, and existing soil chemistry determine the longevity of the project. A living wall is a multi-generational asset, and treating it as such during the planning phase prevents the need for costly removals or replacements a decade down the line.
Landscape Design Principles
Successful living privacy walls rely on the principles of symmetry and vertical layering. In formal designs, we often utilize a single species planted at precise intervals to create a clean, architectural line. For a more organic or “naturalistic” look, a staggered approach is preferred. This involves planting in two rows, forming a zigzag pattern that provides density much faster than a single row. This method also allows for better air circulation between plants, reducing the risk of fungal infections. Elevation plays a crucial role here; by utilizing Retaining Walls or raised berms, you can gain an immediate 2 to 3 feet of height before the first branch even grows. This is particularly useful in properties with significant slopes where a neighbor’s house may sit higher than your own.
Visual balance is achieved by transitioning from the tall “screen” plants down to the ground level through tiered softscaping. A tall row of Thuja Green Giant or Leyland Cypress can be softened by a mid-level layer of flowering shrubs like Hydrangea or Viburnum. This layering prevents the “prison wall” effect, where a single flat plane of green feels oppressive. Furthermore, irrigation must be planned alongside the design. We recommend a dedicated Drip Irrigation system with In-line Emitters spaced every 12 inches. This ensures that water reaches the root zone directly, minimizing evaporation and preventing the foliage diseases often caused by overhead sprinklers. Finally, consider walking paths and maintenance access. A 3-foot gap between the living wall and a hard fence or property line allows for pruning and air movement, which are essential for plant health.
Plant and Material Selection
Selecting the right plant is a decision based on soil texture, light availability, and the desired growth speed. While fast-growing species provide quick privacy, they often require more frequent pruning. Slow-growing species represent a larger upfront investment for height but offer lower long-term maintenance costs.
| Plant Type | Sun Exposure | Soil Needs | Water Demand | Growth Speed | Maintenance Level |
| :— | :— | :— | :— | :— | :— |
| Thuja Green Giant | Full Sun to Partial Shade | Well-Drained | Moderate | Fast | Low |
| Skyrocket Juniper | Full Sun | Sandy/Rocky | Low | Moderate | Low |
| Boxwood (American) | Full Sun to Shade | Loamy/Rich | Moderate | Slow | Medium |
| English Laurel | Partial Shade to Shade | Moist/Well-Drained | High | Fast | High (Pruning) |
| European Hornbeam | Full Sun to Partial Shade | Adaptable/Clay | Moderate | Moderate | Medium |
| Nandina Domestica | Full Sun to Partial Shade | Any/Durable | Low | Moderate | Low |
| Clumping Bamboo | Full Sun to Partial Shade | Moist/Rich | High | Very Fast | High |
For those in urban environments with limited ground space, Espaliered Trees or large Custom Planters with integrated Treallises are excellent alternatives. These materials allow you to grow vertical screens in as little as 18 inches of soil depth, provided the drainage is managed correctly.
Implementation Strategy
The transition from design to installation begins with ground preparation. The most common mistake is planting into compacted, “construction-grade” fill dirt. Start by Grading the area to ensure that water moves away from both the plant stems and any nearby building foundations. If the area is prone to standing water, install a French Drain or a series of Catch Basins before any plants are delivered. Use a Rototiller to break up the soil to a depth of 18 inches, incorporating organic matter like compost or aged manure to improve cation exchange and drainage.
Once the soil is prepared, mark your planting locations using Landscaping Spray Paint or stakes and twine. Use a Post Hole Digger or a sharpened Spade to dig holes that are 2 to 3 times the width of the root ball but no deeper than the root ball itself. Planting too deep is a primary cause of tree failure. Set the plant so the “flare,” where the trunk meets the roots, is slightly above the surrounding grade. After backfilling with native soil, create a Soil Ring or basin around the base of each plant to hold water during the initial establishment phase. Finish the installation by applying a 3-inch layer of Hardwood Mulch. Keep the mulch a few inches away from the trunk to prevent rot and rodent damage. This organic barrier retains moisture, suppresses weeds, and regulates soil temperature during extreme weather peaks.
Common Landscaping Failures
The most frequent failure in living walls is overcrowding. To achieve “instant privacy,” many homeowners plant trees too close together. As these plants mature, their lower branches compete for light and nutrients, leading to “browning out” and die-off in the center of the screen. This creates a permanent gap that is almost impossible to fix without replacing the entire row. Always follow recommended spacing guidelines, usually 5 to 8 feet apart for large evergreens, to ensure the long-term health of the lower canopy.
Another critical error is poor drainage. If the Root Ball sits in a saturated “bowl” of clay, the roots will suffocate from a lack of oxygen. This often looks like drought stress (wilting and yellowing), leading owners to add even more water, which accelerates the decline. Soil compaction from heavy machinery during home construction is often the culprit. If your soil is heavy clay, consider planting in “mounds” or slightly raised rows to keep the upper roots aerated. Lastly, neglect of the Irrigation Controller can be fatal. Systems should be adjusted seasonally; a schedule that works in the heat of July will drown a plant in the dormancy of January.
Seasonal Maintenance
A living wall is a biological system that requires different interventions throughout the year. In the Spring, focus on nutrition and new growth. Apply a Balanced Slow-Release Fertilizer (such as a 10-10-10 or 14-14-14 NPK ratio) just as the buds begin to swell. Check the Drip Lines for leaks or clogs caused by mineral buildup. This is also the time to apply a fresh layer of Mulch if the previous year’s application has decomposed.
During the Summer, moisture management is the priority. In periods of extreme heat or drought, supplemental watering may be necessary even for established screens. Check the soil moisture by hand; the ground should be damp at a depth of 4 inches. As we move into Autumn, reduce watering to allow the plants to harden off for the coming cold. This is the ideal time for structural pruning. Remove any dead, diseased, or crossing branches using Bypass Pruning Shears or Loppers. In Winter, the primary threat is heavy snow loading or ice. For upright evergreens like Arborvitae, you may need to loosely wrap them with Burlap or twine to prevent the branches from splaying or breaking under the weight of winter storms.
Professional Landscaping FAQ
How long does it take for a living wall to provide full privacy?
Most fast-growing species like Thuja Green Giant reach full density within 3 to 5 years, assuming proper irrigation and soil nutrition. Starting with larger Balled and Burlapped specimens can reduce this timeline to 1 or 2 years.
Can I grow a living privacy wall in a narrow side yard?
Yes, but you must select columnar or “fastigiate” varieties. Species like Skyrocket Juniper or Fine Line Buckthorn grow vertically without expanding horizontally, making them ideal for spaces as narrow as 3 feet wide.
Do living walls require a lot of water once established?
While initial establishment requires consistent moisture, many mature living walls are remarkably drought-tolerant. Species such as Eastern Red Cedar or Privet have extensive root systems that can tap into deep ground moisture once they are fully settled.
What is the best way to prevent pests in a dense screen?
Provide adequate spacing for air circulation and avoid overhead watering. Thicker screens can harbor mites or scale; using Horticultural Oil or Neem Oil in early spring can prevent many infestations before they compromise the foliage.
Is a living wall more expensive than a wooden fence?
The initial cost is often comparable depending on the plant size. However, a living wall increases in value as it grows, whereas a wooden fence begins to depreciate immediately due to weathering, rot, and the eventual need for staining.