
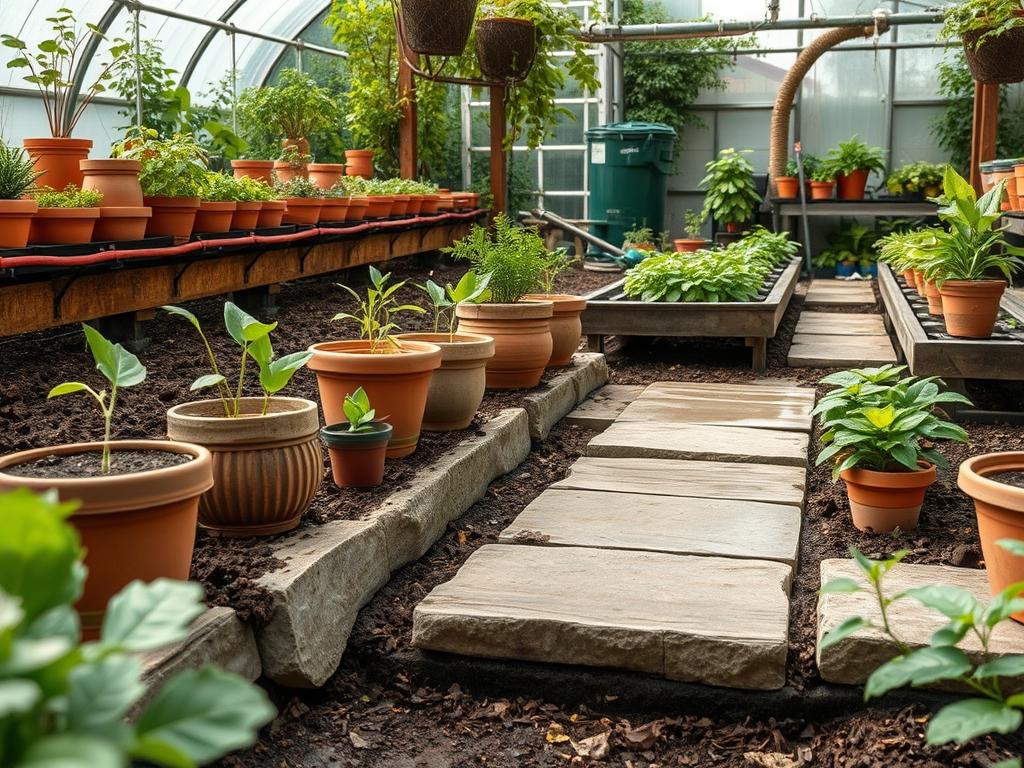
The aesthetic integrity of a professional landscape design often hinges on the longevity and appearance of its hardscaped elements. When homeowners invest in premium natural materials like Bluestone, Flagstone, or Travertine, they are not just purchasing a surface; they are installing a permanent floor for an outdoor room. However, environmental stressors begin to take a toll the moment the installation is complete. Moisture, ultraviolet radiation, and organic debris act as erosive forces that can turn a vibrant patio into a weathered, stained, or pitted surface within just a few seasons. This is why understanding Backyard Stone Sealing Basics is a fundamental requirement for any high-end outdoor environment. Without proper protection, the porosity of natural stone allows water to penetrate deep into its structure. This leads to issues ranging from minor aesthetic shifts to catastrophic structural failure caused by freeze-thaw expansion.
Effective landscaping requires a balance between softscape elements and the geometric stability of hard surfaces. In climates where humidity is high or winters are harsh, the chemical stability of the stone must be reinforced. Professional sealing does more than just enhance the color of the material; it creates a microscopic barrier that prevents the absorption of oils, tannins from fallen leaves, and acidic rainwater. A well-executed sealing project ensures that the stone remains easy to clean and resistant to the growth of moss and algae. As we evaluate the functionality of an outdoor space, we must treat the stone as a living component of the site that requires a defensive strategy to maintain its role in the overall curb appeal and architectural harmony of the property.
Landscape Design Principles
Successful landscape architecture relies on the intelligent application of symmetry and visual balance to guide the eye and direct movement. When planning a backyard, the stone surfaces often serve as the primary focal points, defining the “rooms” of the outdoor space. We look for ways to layer elevations, using Retaining walls and tiered patios to manage slopes while creating unique vantage points. Symmetry does not necessarily mean a mirror image; rather, it refers to the distribution of visual weight. If a massive outdoor kitchen is situated on one side of a patio, a heavy grouping of Evergreen shrubs or a large Stone fire pit might be required on the opposite side to maintain equilibrium.
Walkways should be designed with both ergonomics and aesthetics in mind. A standard width of 4 feet allows two people to walk side by side, whereas narrower paths create a sense of intimacy and discovery. Throughout this process, irrigation planning must be integrated into the hardscape design. We ensure that water is directed away from the house and the stone surfaces using a 2 percent slope. The placement of drainage grates and underground piping is essential to prevent hydrostatic pressure from building up behind walls or under pavers. This technical foresight ensures that the layout is as functional during a rainstorm as it is during a summer gathering.
Plant and Material Selection
The transition between the rigid lines of stone and the organic textures of plants is where a garden truly comes to life. Choosing species that complement the mineral tones of the hardscape while surviving the specific microclimate of a backyard is a specialized task. Below is a selection of plants frequently utilized in professional designs to frame stone pathways and patios.
| Plant Type | Sun Exposure | Soil Needs | Water Demand | Growth Speed | Maintenance Level |
| :— | :— | :— | :— | :— | :— |
| Lavandula angustifolia | Full Sun | Well-drained gravelly | Low | Moderate | Low |
| Buxus microphylla | Full to Partial | Loamy, rich | Moderate | Slow | Medium |
| Pennisetum alopecuroides | Full Sun | Varied/Well-drained | Moderate | Fast | Low |
| Coreopsis verticillata | Full Sun | Sandy or poor soil | Low | Fast | Low |
| Salvia nemorosa | Full Sun | Well-drained | Low to Moderate | Moderate | Low |
When selecting stone, the choice between a natural cleft or a honed finish will dictate the level of slip resistance and the type of sealer required. For instance, Sandstone is highly porous and requires a deep-penetrating Silane-Siloxane sealer to protect it from within. Conversely, denser materials like Granite or certain Granite pavers might only need a topical coating to provide a high-gloss finish. The material selection must always be paired with the appropriate chemical protection to ensure the colors do not fade under intense sun exposure.
Implementation Strategy
The transition from a design on paper to a physical landscape begins with rigorous site preparation. The first step is grading the land. Using a Transit level or a Laser level, we establish the high and low points of the yard to ensure all water moves toward designated drainage zones. Once the grade is established, we excavate to a depth that allows for a 6-inch base of Compacted 21A or 57 stone, followed by a 1-inch bedding layer of sharp sand. This foundation is critical; without it, the stone will shift and crack as the ground settles.
After the base is compacted using a Vibratory plate compactor, the stone is laid according to the specified pattern. Whether it is a running bond, herringbone, or random ashlar pattern, the joints must be consistent. We use Polymeric sand to fill the gaps between stones, as this material hardens to resist weeds and ants while remaining flexible enough to handle thermal expansion. Once the stone is set and the site is cleaned of all dust and debris, the sealing process begins. We apply the Sealer using a high-volume, low-pressure sprayer, followed by a Back-rolling technique to ensure even distribution. This final step is the most vital part of the Backyard Stone Sealing Basics because it locks in the beauty of the installation and provides the final layer of defense against the elements.
Common Landscaping Failures
The most frequent failures in residential landscaping involve a lack of attention to drainage and soil physics. Many contractors fail to account for the way water moves beneath a patio, leading to soil saturation and the eventual sinking of the stone. Another common mistake is the improper spacing of large-growth plants. A tree planted too close to a Retaining wall will eventually exert thousands of pounds of pressure on the structure as its roots expand, causing the wall to bow or collapse.
Soil compaction is another silent killer of landscape health. During the construction of a patio, heavy machinery often compacts the surrounding soil to the point where air and water can no longer reach the roots of nearby plants. This leads to high mortality rates for new vegetation. Furthermore, skipping the sealing process on natural stone leads to Efflorescence, which is a white, powdery salt deposit that rises to the surface. Once these salts crystallize inside the pores of the stone, they can cause the surface to flake or “spall,” a condition that is difficult and expensive to reverse.
Seasonal Maintenance
A landscape is a dynamic system that requires different interventions as the seasons shift. In the spring, the focus is on “awakening” the garden. This involves a deep cleaning of all stone surfaces with a Neutral pH stone cleaner to remove winter grime. We check the integrity of the sealer by performing a “bead test.” If water soaks into the stone rather than forming beads on the surface, it is time for a fresh application. We also prune Deciduous shrubs and apply a 3-inch layer of Hardwood mulch to planting beds to retain moisture.
Summer maintenance centers on irrigation management and weed control. During periods of extreme heat, we check that the Irrigation controllers are adjusted to prevent over-watering, which can lead to fungal growth on unsealed stones. Autumn is dedicated to debris management. Leaves must be cleared quickly because the tannins they release can permanently stain porous stones like Limestone if they are not properly sealed. Finally, winter maintenance involves the careful use of de-icing agents. We avoid salt-based products on natural stone, as they accelerate the degradation of the material. Instead, we recommend using sand for traction or choosing a stone-safe chemical melter that won’t strip the protective sealer.
Professional Landscaping FAQ
How often should I re-apply a stone sealer?
Most professional-grade penetrating sealers last between three and five years. Factors like foot traffic, sun exposure, and the frequency of pressure washing will dictate the exact timeline. Always perform a water bead test annually to check the current protection levels.
Can I seal my stone immediately after it is installed?
Professionals recommend waiting approximately 30 to 60 days after installation. This “curing period” allows any trapped moisture or Efflorescence to escape the stone. Sealing too early can trap minerals and moisture, leading to a cloudy or hazy appearance.
Does sealing make the backyard stone slippery?
Topical sealers that create a film can become slippery when wet. To prevent this, architects often specify penetrating sealers that soak into the stone without changing the surface texture, or they add an anti-skid additive to the final coating.
What is the best way to clean sealed stone?
Avoid acidic cleaners like vinegar or harsh chemicals like bleach. Use a Pressure washer on a low setting with a specialized stone soap. This removes surface dirt without stripping the protective sealer or damaging the delicate structure of the natural minerals.
Will sealing prevent all weeds from growing in my patio?
Sealing itself protects the stone, while Polymeric sand in the joints prevents weed growth. While a sealer won’t stop a seed from landing on top of the sand and sprouting, it makes the overall environment much less hospitable for root systems.