
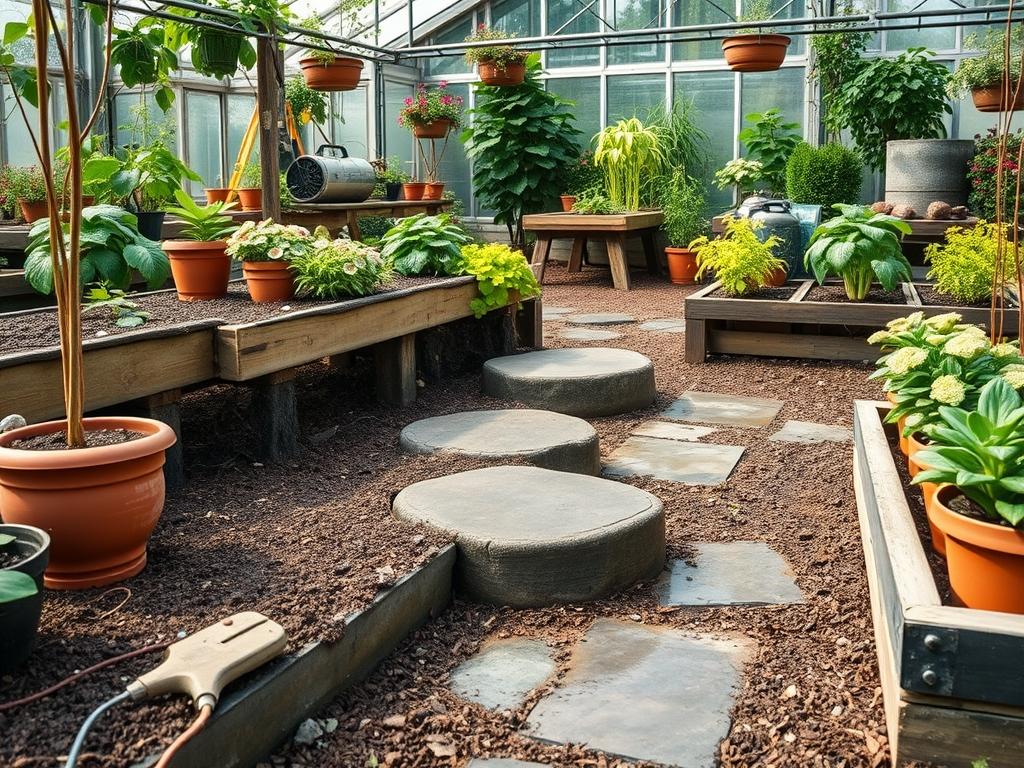
Creating a functional yet aesthetically pleasing transition between different zones of a garden requires more than just placing rocks on the ground. Professional landscape architects view backyard step stone layouts as the primary circulatory system of the outdoor environment. These paths define how a person experiences the space, dictating the pace of movement and the visual perspective of the surrounding flora. A well-designed layout must address the specific microclimate of the region, ensuring that materials can withstand freeze-thaw cycles or intense UV exposure without cracking or shifting. When executed with precision, these pathways significantly enhance curb appeal and property value by providing a polished, intentional structure to the softscape. Modern design focuses on the intersection of utility and art, where the choice of stone communicates a specific architectural language, whether it is the rugged charm of natural Flagstone or the clean, geometric lines of oversized Concrete Pavers.
The success of any installation depends heavily on site analysis, particularly regarding how water moves across the property. Designers must account for the existing elevation to prevent a pathway from becoming a literal stream during heavy rainfall. By integrating drainage solutions like French drains or permeable sub-bases beneath the stones, you protect the integrity of the layout and the health of nearby plantings. Furthermore, the ergonomic aspect of the path cannot be overlooked. A standard human gait requires specific spacing between the centers of each stone, typically ranging from 20 inches to 24 inches. Failure to calibrate this distance leads to an uncomfortable walking experience that feels either too stuttered or too broad. When we plan these layouts, we consider the outdoor living goals of the homeowner, whether they desire a direct route to a detached studio or a meandering journey through a native woodland garden.
Landscape Design Principles
A professional landscape begins with a clear understanding of visual balance and spatial organization. Symmetry often lends itself to formal gardens, where straight lines and mirrored planting beds create a sense of order and grandeur. In these environments, Uniform Granite Slabs or Square Basalt Tiles are often used to reinforce the architectural rigidity. Conversely, asymmetrical layouts utilize organic shapes and varied spacing to mimic natural transitions. This approach is ideal for cottage-style gardens or modern xeriscapes where the goal is to soften the transition between hard surfaces and the lawn.
Focal points are essential for directing the eye through the layout. A path should lead somewhere meaningful, such as a custom fire pit, a water feature, or a sculptural specimen tree. To enhance the depth of the field, architects often use elevation layers. If a backyard has a significant slope, the step stone layout must incorporate Retaining Walls or tiered landings to manage the grade safely. These structures prevent soil erosion and create flat planes for walking. Strategic irrigation planning is also vital; the layout should never interfere with the spray patterns of existing sprinkler heads. Instead, subsurface drip irrigation lines should be routed around the stones to ensure that the surrounding groundcover receives consistent moisture without causing the stones to shift due to oversaturation.
Plant and Material Selection
Choosing the right combination of stone and living groundcover determines the longevity and maintenance requirements of the path. The materials must be thick enough to resist cracking under foot traffic, generally recommending a minimum thickness of 2 inches for natural stone. Below is a selection of plants frequently used to fill the gaps between stones to create a “living” path.
| Plant Type | Sun Exposure | Soil Needs | Water Demand | Growth Speed | Maintenance Level |
| :— | :— | :— | :— | :— | :— |
| Irish Moss | Full Sun to Partial Shade | Moist, Well-drained | Moderate | Fast | Medium |
| Creeping Thyme | Full Sun | Sandy, Gritty | Low | Moderate | Low |
| Dwarf Mondo Grass | Shade to Partial Sun | Well-drained | Moderate | Slow | Low |
| Blue Star Creeper | Sun to Partial Shade | Rich, Consistent | Moderate | High | Moderate |
| Elfin Thyme | Full Sun | Well-drained | Low | Slow | Low |
| Corsican Mint | Partial Shade | Wet, Rich | High | Fast | High |
Implementation Strategy
The actual installation of backyard step stone layouts begins with a thorough site marking using Layout String and Marking Paint. Once the path is traced, a professional must excavate the area to a depth of at least 6 inches. This allows for a robust foundation consisting of 4 inches of compacted Crushed Stone or Road Base, followed by a 1 inch layer of Leveling Sand. Compaction is the most critical step; using a Power Plate Compactor ensures that the stones will not sink or tilt over time as the soil settles.
After the base is prepared, the stones are placed according to the predetermined gait measurements. A Rubber Mallet is used to set each stone firmly into the sand, while a Level ensures that the surface is flat but slightly pitched (about 1 percent to 2 percent) to allow for water runoff. For the edging, professionals often use Steel Edging or Plastic Paver Restraints to hold the stones and the surrounding Mulch or gravel in place. If a living gap is desired, the space between stones is filled with a specialized planting mix before the groundcover is tucked into the crevices. Finally, a layer of Landscape Fabric may be used in non-planted areas to suppress weeds, though it is usually avoided in areas where creeping plants are expected to root and spread.
Common Landscaping Failures
One of the most frequent errors in DIY backyard step stone layouts is the failure to account for soil compaction and drainage. Without a proper sub-base, stones will inevitably shift during the first major rain event or seasonal thaw. This creates tripping hazards and an uneven aesthetic. Another common mistake is root overcrowding. When stones are placed too close to large trees, the expanding root systems will eventually lift the heavy masonry, necessitating a complete and expensive reconstruction.
Improper spacing is another hallmark of a poorly planned landscape. If the stones are too small or the gaps are too wide, users will often step off the path onto the grass or mulch to find a comfortable stride, leading to compaction of the surrounding soil and the death of nearby plants. Additionally, many homeowners neglect the “hidden” infrastructure. Running irrigation lines or electrical conduits for low-voltage lighting under the path after it has been set is a logistical nightmare. These elements must be installed during the excavation phase to avoid disturbing the finished hardscape later.
Seasonal Maintenance
Landscape management is a year-round commitment that changes with the weather. In the spring, the focus should be on inspecting the stones for any shifting that occurred during the winter. This is the time to refresh Polymeric Sand in the joints or to divide and replant any groundcover that did not survive the cold. As the summer heat intensifies, irrigation becomes the priority. While many stone-adjacent plants like Creeping Thyme are drought-tolerant, they still require deep watering during heatwaves to maintain their vibrant color and density.
Autumn maintenance involves the diligent removal of organic debris. If leaves are left to rot on the surface of porous stones like Limestone or Sandstone, they can leave permanent tannins and stains. It is also the season to apply a fresh layer of Bark Mulch to the surrounding beds to insulate plant roots before the first frost. During the winter, the primary concern is slip resistance. Avoid using harsh rock salts on natural stone, as the chemical reaction can cause palling or surface flaking. Instead, use Coarse Sand or traction grits to ensure the path remains safe without damaging the structural integrity of the masonry.
Professional Landscaping FAQ
What is the best stone for high-traffic backyard paths?
Flagstone and Bluestone are superior choices due to their density and natural slip resistance. For a more modern look, Precast Concrete Pavers offer extreme durability and consistent thickness, which simplifies the leveling process during installation in high-traffic zones.
How do I prevent weeds from growing between my step stones?
A combination of Geotextile Fabric and Polymeric Sand is highly effective. If you prefer a green look, planting dense groundcovers like Elfin Thyme will naturally outcompete weeds. Regular application of organic pre-emergent weed suppressants can also maintain a clean appearance.
Can I install step stones directly on top of my lawn?
This is not recommended for long-term stability. Stones placed directly on grass will eventually sink, tilt, or be swallowed by thatch. To do it correctly, you must remove the sod and create a compacted foundation of Gravel and Sand.
How much space should I leave between each step stone?
For a natural walking rhythm, place the centers of the stones approximately 22 inches apart. This matches the average human stride. The actual gap between the edges of the stones typically ranges from 2 inches to 4 inches depending on stone size.
Do I need a drainage system for a simple stone path?
If your yard is flat or has heavy clay soil, a basic gravel sub-base acts as a drainage reservoir. In sloped areas, you may need a French Drain alongside the path to redirect runoff away from your home’s foundation and prevent erosion.