
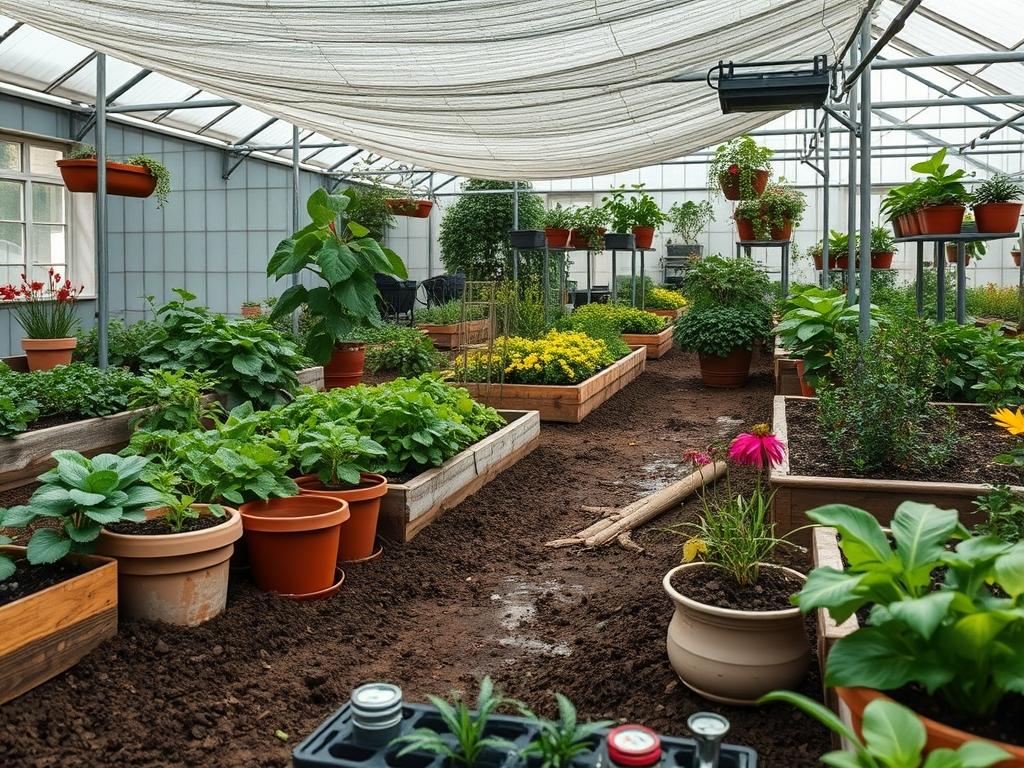
Integrating a high performance shade structure into a residential landscape requires more than simply identifying a sunny spot and driving stakes into the ground. Modern backyard awning tension kits represent a sophisticated intersection of architectural engineering and horticultural design. These systems, characterized by high grade Stainless Steel Cables and heavy duty Turnbuckles, allow homeowners to create defined “outdoor rooms” that bridge the transition between the rigid geometry of a house and the organic fluidity of a garden. To achieve a seamless aesthetic, a landscape architect must consider how the tensioned lines of the awning interact with the horizon, the existing canopy, and the seasonal movement of the sun. The primary challenge lies in balancing the structural requirements of the kit with the environmental health of the plants beneath it. A well-planned installation not only provides much needed relief from ultraviolet exposure but also increases the overall property value by demonstrating a commitment to tiered, functional outdoor living spaces.
From a climate perspective, the placement of these kits must account for prevailing wind patterns and drainage corridors. An awning acts as a large sail; therefore, the anchoring points must be integrated into the landscape via Concrete Footings or reinforced Retaining Walls that can withstand significant lateral force. By treating the tension kit as a permanent architectural feature rather than a temporary accessory, the designer can influence the perceived curb appeal and the longitudinal utility of the backyard. When executed correctly, the tensioned fabric mirrors the professional precision of a modern interior while maintaining the breezy, restorative atmosphere of a private sanctuary. Every element, from the gauge of the Cable Tensioners to the permeability of the ground cover, plays a vital role in the success of the microclimate you are creating.
Landscape Design Principles
Effective landscape design relies on the principle of symmetry to provide a sense of order. When installing backyard awning tension kits, the geometry of the fabric should align with the major axes of the home, such as a sliding glass door or a central window. This alignment creates a visual focal point that draws the eye outward. To prevent the space from feeling flat, designers employ elevation layers. This can include raised planters constructed from Pressure Treated Lumber or Natural Stone, which bring greenery closer to the height of the seated occupants under the awning. These layers add depth and allow for a more complex interplay of shadows during the golden hour.
Irrigation planning is another critical pillar of professional design. Because a tensioned fabric awning can deflect significant amounts of rainwater, the ground directly beneath it will often remain dry while the perimeter receives an influx of moisture. Landscape architects mitigate this by installing French Drains or Catch Basins at the drip line. This ensures that the structural posts remain stable and that nearby plants do not suffer from root rot due to localized flooding. Furthermore, the inclusion of permanent walkways constructed from Flagstone or Permeable Pavers ensures that foot traffic remains on designated paths, protecting the delicate root systems of surrounding flora from soil compaction. By maintaining a visual balance between the heavy masonry of the ground and the light, airy tension of the awning, the designer creates a space that feels both grounded and expansive.
Plant and Material Selection
The materials used in the construction and the species planted around the perimeter define the longevity and maintenance requirements of the outdoor space.
| Plant Type | Sun Exposure | Soil Needs | Water Demand | Growth Speed | Maintenance Level |
| :— | :— | :— | :— | :— | :— |
| Boxwood (Buxus) | Full Sun to Shade | Well-Drained | Moderate | Slow | Medium |
| Lavender (Lavandula) | Full Sun | Sandy/Rocky | Low | Moderate | Low |
| Creeping Thyme | Full Sun | Poor to Average | Low | Fast | Low |
| Japanese Maple | Partial Shade | Acidic/Moist | Moderate | Slow | High |
| Hostas | Full Shade | Loamy/Rich | High | Moderate | Low |
| Star Jasmine | Sun to Part Shade | Thrives in most | Moderate | Fast | Medium |
For the structural components, always opt for 316 Marine Grade Stainless Steel for any tensioning hardware near saltwater environments. Support posts should be constructed from Galvanized Steel or Grade A Redwood to resist decay. When selecting mulch, a Cedar Bark Mulch applied at a depth of 3 inches provides excellent moisture retention while naturally repelling common garden pests.
Implementation Strategy
The successful implementation of a backyard layout begins with professional grading. Before any tension kit components are installed, the site must be leveled to ensure that water flows away from the home foundation and the awning footings. Use a Laser Level to establish a consistent grade across the site. Once the grade is set, the next step involves the excavation of post holes. For a sturdy installation, posts should be buried at a depth of at least 3 feet, depending on the local frost line, and secured with 3000 PSI Concrete.
After the structural anchors are set, the hardscaping and edging process begins. Use Steel Edging or Heavy-Duty Plastic Benders to define the borders between turf, gravel, and planting beds. This prevents grass from encroaching on the tensioned cable anchors and provides a clean, professional finish. When laying down mulch or decorative stone, ensure a layer of Geotextile Fabric is placed underneath to suppress weeds and maintain the integrity of the soil structure. Finally, install the tension kit by attaching the hardware to the fixed points. Use a Torque Wrench to ensure that the cables are tightened to the manufacturer’s specifications. Do not over-tension the fabric on the first day; allow the material to stretch for 24 hours before performing the final tightening. This incremental approach prevents unnecessary stress on the mounting brackets and ensures a perfectly flat, taut surface.
Common Landscaping Failures
One of the most frequent errors in garden planning is the failure to account for drainage redirecting. When a large awning is under tension, it sheds water in concentrated streams. If these streams are not managed with Gravel Trenches or Piping, they can erode the soil and expose the concrete footings. Another common pitfall is root overcrowding. Many homeowners plant large shrubs or trees too close to the awning posts, not realizing that as the roots expand, they can heave the concrete base, throwing the entire tension kit out of alignment.
Soil compaction is an invisible killer in many outdoor living areas. Heavy foot traffic under the shade of an awning packs the soil particles so tightly that air and water cannot reach the roots of nearby plants. This can be solved by incorporating Step Stones or a Decomposed Granite base that distributes weight more evenly. Improper spacing of plants is also a frequent issue; the area under an awning has different light requirements than the rest of the yard. Planting sun-loving species in the permanent shadow of an awning leads to leggy, weak growth and increased susceptibility to disease. Lastly, many DIY installations fail because of irrigation inefficiencies. Placing sprinkler heads where they spray directly onto the awning fabric leads to mineral staining and premature degradation of the material.
Seasonal Maintenance
Maintenance requirements fluctuate with the changing seasons to ensure the kit and the landscape remain in peak condition. During the spring, focus on inspecting all Turnbuckles and Eye Bolts for signs of wear or loosening. This is also the time to apply a balanced fertilizer to the surrounding plants and refresh the Mulch to a consistent 3 inch depth. As the temperatures rise in the summer, irrigation becomes the priority. Check that the water is reaching the plants situated in the “rain shadow” beneath the awning.
Autumn marks the transition to debris management. Fallen leaves must be removed from the top of the awning fabric immediately to prevent staining and the growth of mold. This is also the season to prune any overhanging branches that may rub against the fabric during high winds. In winter, if your region experiences heavy snowfall, it is often advisable to remove the fabric portion of the tension kit. While the Steel Cables can handle cold, the weight of accumulated snow can exceed the load bearing capacity of the anchors. Store the fabric in a dry, ventilated area to prevent mildew. Finally, check the tension of the cables once the ground thaws in late winter to account for any soil shifting caused by the freeze-thaw cycle.
Professional Landscaping FAQ
How do I clean the awning fabric without damaging it?
Use a soft bristle brush and a mixture of mild soap and lukewarm water. Avoid harsh chemicals or pressure washers; these can strip the protective UV coating and weaken the fibers. Rinse thoroughly and allow it to air dry while fully tensioned.
Are backyard awning tension kits safe during high winds?
Most professional kits are rated for specific wind speeds. However, during storms or gusts exceeding 50 miles per hour, it is best to retract or remove the fabric. The structural posts and cables remain, but the fabric acts as a dangerous sail.
What is the best way to prevent weeds under the awning?
Install a high quality Geotextile Fabric over the soil before adding a layer of Crushed Stone or Mulch. This barrier blocks sunlight and prevents weed seeds from taking root while still allowing the soil beneath to breathe and drain properly.
How deep should the concrete footings be for the posts?
Footings should generally be 36 inches deep or reach below the local frost line. The diameter should be at least 12 inches to provide enough mass to counter the significant tension forces generated by the cables and the fabric.
Can I attach tension kits directly to my home’s siding?
It is safer to attach them to the structural framing or a dedicated Wall Plate bolted into the studs. Attaching directly to siding can cause cracking or moisture intrusion. Always ensure the mounting point is structurally sound to handle lateral tension.