
Designing backyard nature play areas requires a sophisticated balance between ecological integrity and residential aesthetic. Unlike traditional plastic playground sets that often detract from property values, a nature-based play environment utilizes the existing topography to create a seamless extension of the home landscape. This approach addresses the modern challenge of incorporating child-friendly zones into high-end architectural designs without sacrificing curb appeal. Successful execution hinges on understanding local climate variables and microclimates, ensuring that the selected materials can withstand heavy use while providing significant educational value. By prioritizing site functionality and long-term sustainability, a well-planned nature play area becomes a primary focal point that enhances the overall outdoor living experience.
The integration of these spaces must consider the site hydrology and the maturity of existing tree canopies. For instance, a sloped lot presents an opportunity for tiered play zones connected by stone scrambles rather than a flat, uninspiring lawn. Effective design ensures that these areas are visible from the main house for safety while remaining tucked behind ornamental plantings to maintain a professional garden profile. The ultimate goal is to foster an environment where children can engage with biological processes, such as seasonal blooming cycles and insect pollination, within a controlled and aesthetically pleasing framework. By selecting durable native plants and high-quality hardscaping materials, the landscape architect creates a space that ages gracefully, eventually maturing into a refined garden feature as the developmental needs of the family evolve.
Landscape Design Principles
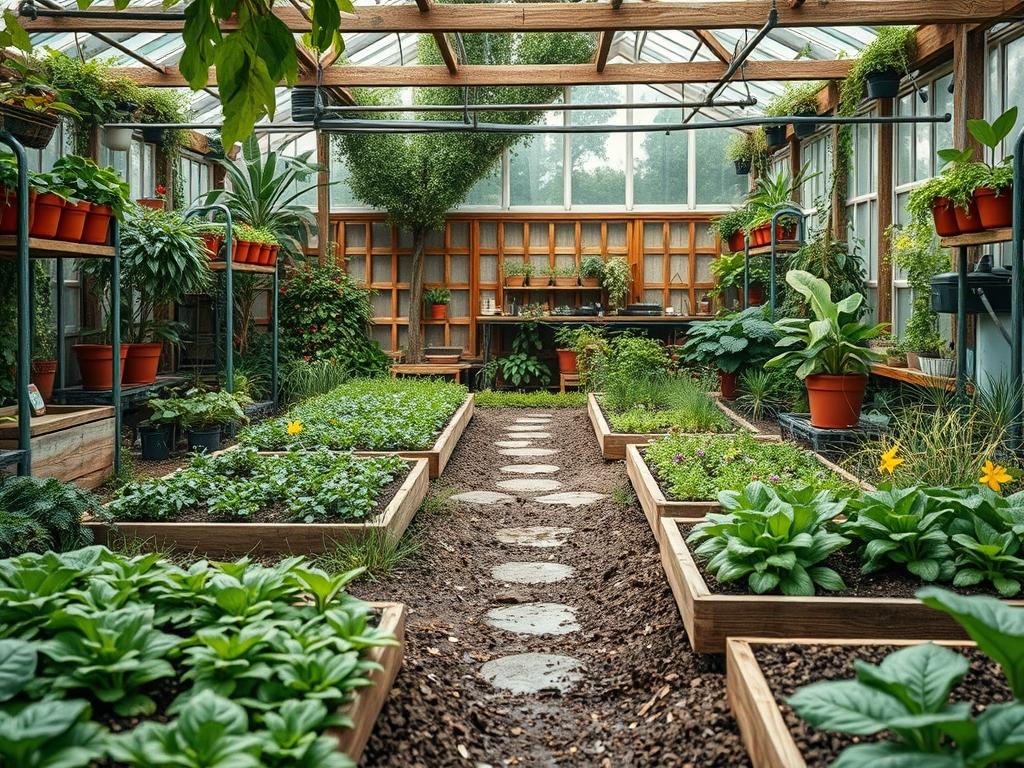
Successful backyard nature play areas are built upon the same foundational principles as any high-end landscape project: symmetry, focal points, and elevation layering. To create a cohesive look, the play area should mimic the geometric or organic lines established near the home foundation. If the house features modern, clean lines, the play zone should utilize structured elements like Steel Edging and rectangular Cedar Timbers. Conversely, for a cottage-style or rustic home, winding paths made of Flagstone or Decomposed Granite better suit the environment.
Elevation is perhaps the most critical tool in a designer’s kit for nature play. By creating subtle berms or utilizing Retaining Walls, you provide children with different perspectives and physical challenges. A mound topped with a Flat Boulder serves as a natural lookout point and a focal point for the garden. Visual balance is maintained by surrounding high-activity zones with dense “buffer” plantings. These green screens, often composed of Evergreen Shrubs, muffle noise and hide the more chaotic elements of play, such as mud kitchens or loose parts storage.
Irrigation planning must be integrated into the initial design phase to ensure the longevity of the landscape. High-traffic areas require robust drainage solutions, such as French Drains or dry creek beds filled with River Rock, to prevent the ground from becoming a mud pit. Walkways should be designed with a clear hierarchy; a primary path of 3 foot wide pavers allows for easy access, while secondary paths of Wood Chips or stepping stones encourage slower, more exploratory movement through the garden.
Plant and Material Selection
The following table outlines high-performance plants and materials suitable for a resilient and educational backyard environment. These selections prioritize safety, durability, and sensory engagement.
| Plant Type | Sun Exposure | Soil Needs | Water Demand | Growth Speed | Maintenance |
| :— | :— | :— | :— | :— | :— |
| Switchgrass | Full Sun | Sandy/Loamy | Low | Fast | Low |
| Serviceberry | Partial Shade | Well-drained | Medium | Medium | Medium |
| Purple Coneflower | Full Sun | Dry/Average | Low | Medium | Low |
| Oakleaf Hydrangea | Shade | Rich/Acidic | Medium | Medium | Low |
| Blueberry Bushes | Full Sun | Acidic/Peat | High | Slow | Medium |
| Creeping Thyme | Full Sun | Sandy/Poor | Low | Fast | Low |
Implementation Strategy
Building a प्रकृति play area begins with a rigorous site assessment and a clear 2D Plot Plan. Before any soil is moved, mark your utility lines and assess the existing Grading. Proper drainage is non-negotiable; the ground must slope away from the house at a minimum of 2 percent grade to avoid interior water damage. Begin the physical work by clearing the site of invasive weeds and debris using a Square Point Shovel or a Power Sod Cutter if the area is large.
Once the site is cleared, install your “hard” infrastructure first. This includes any Retaining Walls made of dry-stacked stone or pressure-treated 6×6 Timbers. If you are installing a “sunken” sandpit or a water play zone, excavate to the required depth and line the area with heavy-duty Geotextile Fabric to prevent weed intrusion while allowing for drainage. For safety surfacing around climbing logs or boulders, excavate to a depth of at least 12 inches and fill with certified Play Grade Bark Mulch. This depth is necessary to provide adequate impact attenuation for falls.
The planting phase should follow a “top-down” approach. Install your largest specimens, such as Shade Trees, first. Use a Post Hole Digger for larger root balls and ensure the planting hole is twice as wide as the root mass. Once the canopy layers are in place, install your middle-tier shrubs and groundcovers. Finishing touches like Steel Edging or Boulders should be placed last to define the borders between play zones and ornamental garden beds. Finally, lay a 3 inch layer of Premium Hardwood Mulch over all planting beds to retain moisture and suppress weeds.
Common Landscaping Failures
The most frequent mistake in designing backyard nature play areas is a failure to account for soil compaction. High-traffic zones beneath swings or at the base of slides will eventually turn into hard-packed earth that repels water and kills nearby root systems. To mitigate this, practitioners should use AERATORS annually and designate specific paths to concentrate foot traffic. Another significant failure is improper plant spacing. While it is tempting to plant densely for immediate privacy, failing to account for the mature width of a Spruce Tree or Viburnum will lead to overcrowding and fungal diseases due to poor airflow.
Drainage inefficiencies often plague DIY nature play projects. Without a properly installed Catch Basin or French Drain, low-lying areas will collect water, creating a breeding ground for mosquitoes and making the area unusable for days after a rainstorm. Additionally, many homeowners ignore the “root zone” of existing mature trees. Excavating or adding more than 2 inches of soil over the roots of an established Oak or Maple can suffocate the tree, leading to a slow decline and expensive removal costs later.
Seasonal Maintenance
A professional-grade landscape requires a structured maintenance schedule to remain both safe and beautiful. During the Spring, focus on “re-opening” the play area. Inspect all climbing logs and wooden structures for splinters or rot. Refresh the Mulch levels in fall-protection zones to ensure they still meet the safety depth requirements. This is also the time for a heavy application of Slow-Release Fertilizer to support the growth surge of your Native Grasses and flowering perennials.
Summer maintenance centers on Irrigation management. During periods of extreme heat, ensure that the “play thickets” receive deep watering twice a week to maintain their cooling effect. Monitor for pests that might find the play area attractive, such as wasps or ticks, and manage them using integrated pest management techniques rather than harsh chemicals. In the Autumn, the focus shifts to leaf management. Use a Leaf Blower or rake to remove debris from Wood Chip paths to prevent the organic matter from breaking down into soil, which would encourage weed growth. Finally, Winter is for structural assessment. Prune your Deciduous Trees to remove crossing branches or deadwood that could pose a falling hazard during winter storms.
Professional Landscaping FAQ
How do I prevent my nature play area from looking messy?
Define borders with crisp Steel Edging or stone curbs. Use “care cues” such as mown paths, birdhouses, or formal signage. Group wilder Native Plants within structured beds to signal that the untamed look is intentional and maintained.
What is the best mulch for a nature play area?
Certified Engineered Wood Fiber is the gold standard for safety and durability. It knits together to form a firm yet bouncy surface that stays in place better than standard Hardwood Mulch or Spelled Chips while providing superior impact protection.
Can I build a nature play area in a small backyard?
Yes. Use vertical space with Treks or wall-mounted sensory boards. A single large Boulder surrounded by Mexican Beach Pebbles can serve as a climbing feature, seating, and a focal point without overwhelming a compact urban lot.
Are there plants I should strictly avoid?
Avoid plants with thorns like Hawthorn, or toxic species like Oleander or Foxglove. Check your local extension office for a list of invasive species to ensure your play area supports, rather than harms, the local ecosystem.
How do I manage mud in high-use areas?
Install a Sub-surface Drainage System and use a base layer of Crushed Limestone topped with Geotextile Fabric before adding your surface mulch. This allow water to move through the profile quickly while preventing the top layer from mixing with dirt.