
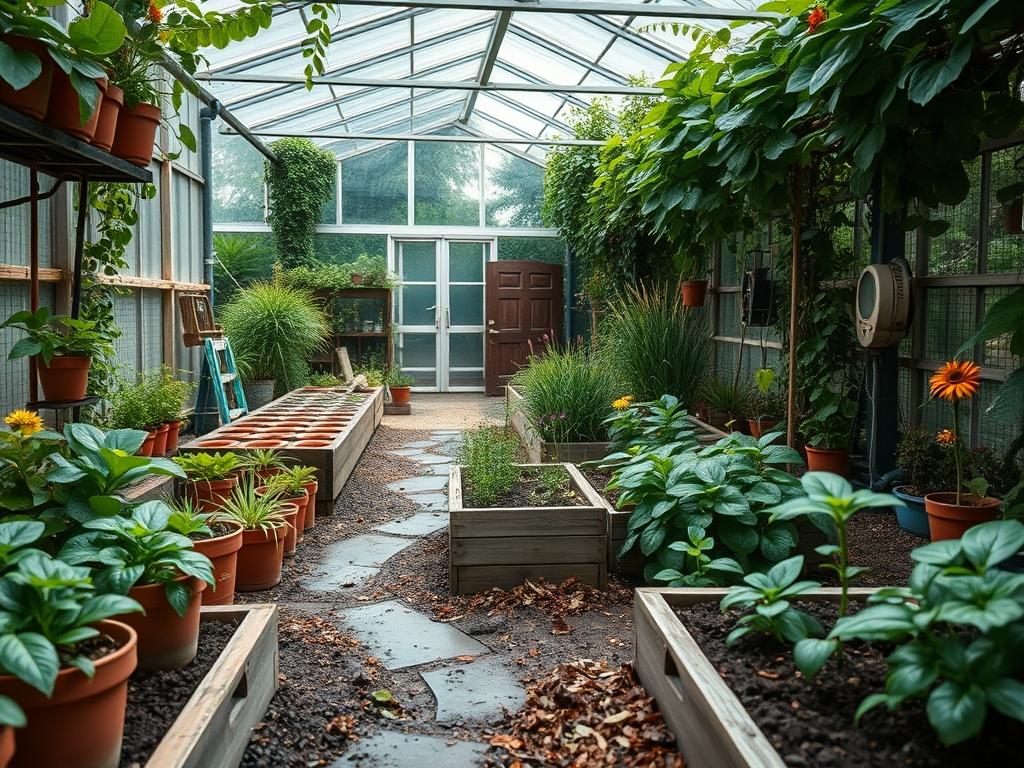
Designing Backyard Toddler Play Zones requires a sophisticated approach that balances the whimsical nature of childhood with the structural integrity of a high-end landscape. Many homeowners struggle with the transition from a manicured garden to a functional family space, often fearing that playground equipment will detract from curb appeal. However, a well-conceived master plan integrates play elements into the existing topography, utilizing the natural elevation and greenery to create a seamless transition. Climate considerations play a pivotal role in this process; for instance, choosing materials that resist heat absorption in southern latitudes or ensuring proper drainage in regions prone to heavy rainfall. The ultimate goal is to provide a safe, private sanctuary that fosters physical development while maintaining the aesthetic standards of a professional outdoor living environment. By treating the play zone as a dedicated “room” within the landscape, we can apply the same rigorous design standards used for outdoor kitchens or patios.
Landscape Design Principles
Effective play zones hinge on the principle of purposeful zoning. We begin with symmetry and visual balance to ensure the play structure does not overwhelm the yard. By placing a focal point, such as a custom cedar swing set or a sculptural climbing boulder, at the end of a sightline, we create a sense of intention. Proper irrigation planning is essential here; play areas should be kept on a separate zone from delicate flower beds to avoid over-saturation of the high-traffic turf or mulch.
Elevation layers add a three-dimensional quality to the design. Rather than a flat, monotonous lawn, consider using low retaining walls (under 18 inches to avoid fall hazards) to create tiered levels. These walls can serve as built-in seating for parents while clearly defining the boundaries of the play area. Walkways should be constructed from slip-resistant materials like decomposed granite or textured pavers, providing a clear path from the main house to the play zone. This transition reduces the tracking of mud and debris into the home. Visual balance is achieved by “weighting” the play equipment with dense perimeter planting, which softens the hard lines of plastic or wood and anchors the zone within the broader garden context.
Plant and Material Selection
| Plant Type | Sun Exposure | Soil Needs | Water Demand | Growth Speed | Maintenance Level |
| :— | :— | :— | :— | :— | :— |
| Pink Muhly Grass | Full Sun | Well-drained | Low | Moderate | Low |
| Lambs Ear | Full Sun/Part Shade | Dry, poor soil | Low | Fast | Low |
| Blueberry Bush | Full Sun | Acidic soil | Moderate | Slow | Medium |
| Creeping Thyme | Full Sun | Well-drained | Moderate | Fast | Low |
| Emerald Green Arborvitae | Full Sun/Part Shade | Moist, well-drained | Moderate | Moderate | Low |
| Littleleaf Linden | Full Sun | Loamy soil | Moderate | Moderate | Medium |
Implementation Strategy
The first step in any backyard project is a thorough site analysis. Focus on the grading of the land; a 2% slope away from the house and the play zone is the industry standard to prevent ponding. If the area is naturally low-lying, you must install a French drain or a dry creek bed using river rock to whisk water away from the play equipment. Once the site is leveled, we address the sub-base. For high-impact areas, a layer of geotextile fabric should be laid down to prevent soil mixing and weed growth.
Next, define the border with substantial edging. Steel edging or pressure-treated 4×4 timbers create a crisp line that keeps surfacing materials contained. For the surfacing itself, engineered wood fiber (EWF) is the preferred choice for safety and aesthetics. Unlike standard garden mulch, EWF is knit together to provide a stable, impact-absorbing surface that meets ADA accessibility standards. Aim for a mulch depth of 9 to 12 inches to ensure adequate fall protection.
When installing hardscaping, ensure that all edges are chamfered or rounded to prevent injuries. If you are including a sandbox, use kiln-dried play sand and build a custom cover to prevent local wildlife from using it as a litter box. Finally, integrate sub-surface drip irrigation around the perimeter plants to keep the vegetation lush without spraying water directly onto the play structures, which can lead to wood rot or slippery surfaces.
Common Landscaping Failures
The most frequent mistake in toddler zone design is neglecting the drainage profile. A “sunken” play area will inevitably become a muddy pit after a storm, rendering the space unusable for days and attracting mosquitoes. Another critical error is root overcrowding. Planting large-canopy trees like Silver Maples too close to retaining walls or play structures will eventually result in root heave, which can crack masonry and destabilize equipment.
Improper spacing of plants also plagues many designs. Homeowners often plant for immediate “fullness” without accounting for the mature spread of the species. This leads to cramped walkways and obscured sightlines, which is a significant safety risk for a toddler play area. Soil compaction is another silent killer; the heavy foot traffic in a play zone compresses the earth, suffocating the roots of nearby native plants. To combat this, incorporate organic matter into the soil during the initial build and use aeration tools annually. Lastly, irrigation inefficiencies, such as misdirected sprinkler heads hitting wooden play sets, can shorten the lifespan of expensive equipment by years through accelerated weathering and mold growth.
Seasonal Maintenance
Spring is the time for a safety audit and renewal. Inspect all bolts and hardware on play structures for corrosion or loosening. Top off the engineered wood fiber to maintain the required safety depth, as the material naturally decomposes and compacts over time. Prune back any winter-damaged limbs from peripheral shrubs and apply a fresh layer of pre-emergent herbicide to the garden beds to prevent weed infestations.
During the summer, the focus shifts to irrigation management and heat mitigation. Ensure that plants are receiving deep watering cycles during early morning hours to maintain vigor. Check the surface temperature of play equipment; if it is too hot, consider adding a UV-stabilized shade sail or planting a fast-growing deciduous tree like a Red Maple on the western side of the zone to provide natural cooling.
Autumn requires leaf management to prevent the play surface from becoming slippery. Use a leaf blower to clear the mulch area, as decaying organic matter can clog the drainage properties of the EWF. This is also the ideal season for planting native bulbs and refreshing the mulch in the landscape beds. In winter, store any removable components like swings or fabric canopies to protect them from snow and ice. Monitor the retaining walls for signs of frost heave and ensure that drainage outlets remain clear of debris to prevent ice damming.
Professional Landscaping FAQ
What is the best ground cover for toddlers?
Engineered wood fiber is the professional standard for safety. It provides excellent impact absorption and is knit together to create a stable surface that is easier for toddlers to navigate than loose pea gravel or standard wood chips.
How do I prevent my play area from looking messy?
Use strong hardscape borders like natural stone or timber edging to create a defined perimeter. Surround the zone with structured native plants and evergreen shrubs to provide a visual buffer that integrates the equipment into the overall garden design.
Are there specific plants I should avoid?
Absolutely. Avoid any plants with thorns, like certain Roses or Barberry, and toxic species such as Oleander or Foxglove. Stick to sensory-friendly, non-toxic options like Lambs Ear, Lavender, and Blueberry bushes for a safe environment.
How deep should my play mulch be?
For residential toddler zones, a minimum depth of 9 inches is recommended for fall protection. Professional architects often specify 12 inches to account for the natural compression and displacement that occurs during active play over several months.
Can I build a play zone on a slope?
Yes, but it requires grading and retaining walls. You must create a level “pad” for the play equipment to ensure stability. Use tiered stone walls to manage the elevation change and incorporate built-in slides directly into the hillside for a custom look.