
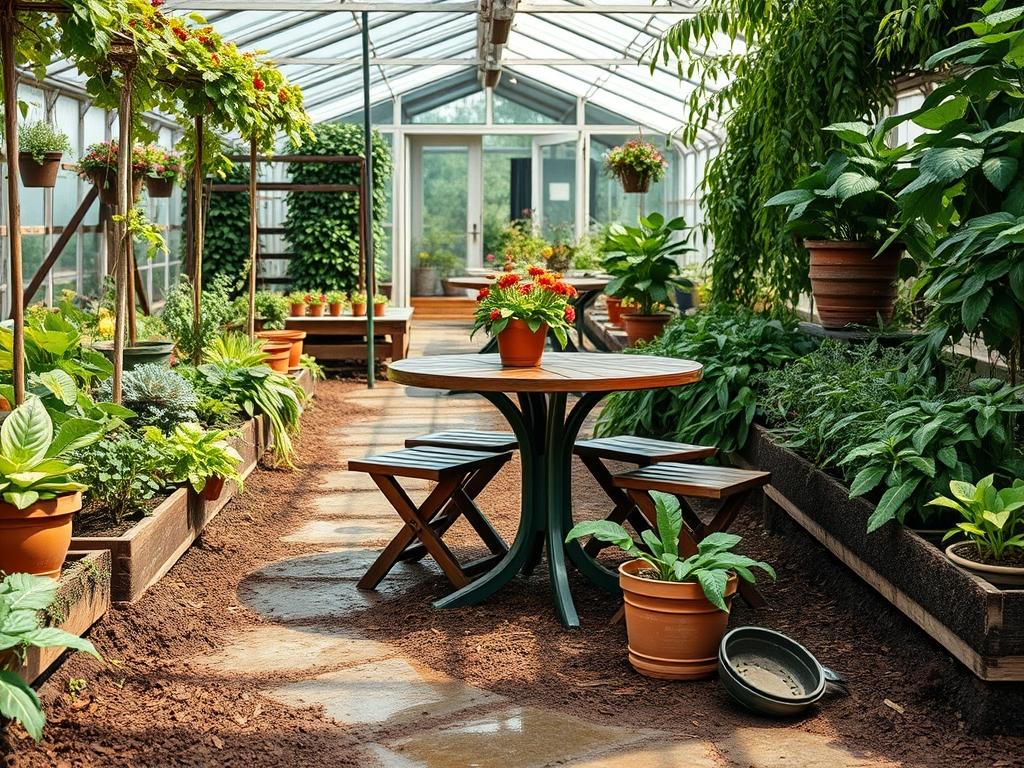
Creating an inviting outdoor nook involves more than just placing a set of chairs on a patch of grass. As a landscape architect, I view the placement of Backyard Bistro Table Layouts as a strategic exercise in spatial geometry and environmental psychology. The primary challenge often lies in the limited footprint of these areas. Unlike expansive dining patios, a bistro zone must feel intentional, offering a sense of seclusion without feeling cramped. Many homeowners struggle with the transition between the hardscape of the patio and the softscape of the garden. Climate also plays a critical role in this planning. A layout that works in a Mediterranean climate might fail in the Pacific Northwest if proper drainage and windbreaks are not considered. When we design these spaces, we look at the microclimate of the specific corner, analyzing sun patterns at 8:00 AM versus 4:00 PM. A bistro table should be a destination, a quiet sanctuary that enhances the overall functionality of the yard while providing a significant boost to the property’s aesthetic value. By treating these small vignettes as focal points, we can transform an overlooked corner into a high-value outdoor living asset.
Landscape Design Principles
Successful Backyard Bistro Table Layouts rely on the principle of the “Room Outdoor.” This concept treats the sky as the ceiling and vertical plants or structures as the walls. To create visual balance, symmetry is a powerful tool. Flanking a small wrought-iron table with two identical terracotta planters containing Boxwood spheres creates an immediate sense of formality and order. However, if the garden follows a more naturalistic or English cottage style, asymmetrical balance might be preferred. In this case, layering plants of varying heights behind the seating area can provide a lush, immersive backdrop.
Elevation is another critical design layer. Placing a bistro set on a slightly raised platform, such as a stone plinth or a wooden deck, separates the “dining room” from the “hallway” of the garden paths. This change in level, even if it is only a few inches, psychological signals a change in the use of the space. Visual sightlines must also be managed. From the interior of the home, the bistro table should be framed by a window or a door, acting as a visual anchor that draws the eye into the landscape.
Effective layout planning also requires careful consideration of negative space. This is the empty area around the furniture that allows for comfortable movement. For a standard 30-inch bistro table, you must account for at least 36 inches of clearance around the perimeter to allow chairs to be pulled out without hitting a wall or a rose bush. Irrigation should be planned early to ensure that water lines for nearby foliage do not conflict with the stable foundation needed for the table legs. Subsurface drip systems are ideal here, as they keep the seating area dry while nourishing the surrounding root zones.
Plant and Material Selection
The following materials and plants have been selected for their ability to thrive in compact environments while requiring minimal intervention.
| Plant Type | Sun Exposure | Soil Needs | Water Demand | Growth Speed | Maintenance Level |
| :— | :— | :— | :— | :— | :— |
| English Lavender | Full Sun | Well-drained | Low | Moderate | Low |
| Dwarf Boxwood | Full/Partial | Loamy/Rich | Medium | Slow | Medium |
| Star Jasmine | Full/Partial | Fertile | Medium | Fast | Moderate |
| Blue Star Creeper | Full/Partial | Moist | Medium | Moderate | Low |
| Mexican Feather Grass | Full Sun | Sandy/Lean | Low | Fast | Low |
| Creeping Thyme | Full Sun | Gritty/Dry | Low | Fast | Very Low |
When selecting hardscape materials for the floor of the bistro area, permeability is a priority. Using decomposed granite or pea gravel allows rainwater to soak directly into the ground, reducing runoff. For a more permanent feel, flagstone or permeable pavers offer a stable surface that prevents the table from wobbling.
Implementation Strategy
The process of installing Backyard Bistro Table Layouts begins with a site survey and grading. Even a small seating area requires a level surface to be functional. Use a 24-inch spirit level and a long straight-edge board to check the grade. If the area slopes toward the house, you must re-grade it to achieve a 2 percent slope away from the foundation to ensure proper drainage.
First, mark the perimeter of your new seating zone using marking paint or a garden hose. Excavate the area to a depth of 6 inches. This depth allows for a 4-inch base of compacted crushed stone and a 2-inch finish layer. Once the excavation is complete, install steel edging or heavy-duty plastic landscape edging along the perimeter. This prevents the turf from encroaching and keeps your base materials contained.
Lay down a high-quality landscape fabric over the soil to suppress weeds. Add the crushed stone in 2-inch lifts, compacting each layer with a hand tamper or a plate compactor until the surface is rock-hard. For the final layer, whether you choose decomposed granite or fine gravel, spread it evenly and use the level once more. If you are using large paver stones, set them into a bed of leveling sand, leaving small gaps that can be filled with polymeric sand or creeping thyme for a softer look. Finally, place your furniture and test it for stability. If a leg wobbles, adjust the pavers or gravel rather than using shims, which can rot or slip over time.
Common Landscaping Failures
The most frequent mistake in designing Backyard Bistro Table Layouts is the “floating furniture” syndrome. This occurs when a homeowner places a table directly on the grass without a dedicated pad. This leads to uneven legs, dying turf, and mud during the rainy season. A dedicated hardscape “rug” is essential for both aesthetics and utility.
Another failure involves poor drainage planning. If the base material is not porous or if the area is at the bottom of a slope without a French drain, water will pool under the table. This makes the area unusable and can cause metal furniture to rust or wooden furniture to rot prematurely.
Root overcrowding is also a significant issue. Many people plant vigorous growers like Bamboo or certain Willow species too close to their seating areas. Within two seasons, the invasive roots can heave pavers and the overhead canopy can drop excessive debris or sap onto the table.
Soil compaction is another silent killer of garden health. During the construction of a bistro pad, heavy foot traffic can crush the soil structure in nearby planting beds. This prevents oxygen from reaching the roots of your ornamental plants. Always use temporary plywood walkways to distribute weight when working near sensitive plant zones. Finally, neglecting irrigation efficiency by placing high-water plants next to low-water plants (hydrozoning failures) will lead to either parched lavender or drowned boxwoods.
Seasonal Maintenance
Maintaining Backyard Bistro Table Layouts requires a calendar-based approach to ensure the space remains “charming” year-round. In the Spring, the focus is on replenishment. Check the gravel levels and top off any areas that have settled. This is also the time to apply a slow-release fertilizer to surrounding shrubs and to prune any Star Jasmine or climbing vines that have begun to encroach on the seating clearance.
During the Summer, irrigation monitoring is paramount. Check your drip emitters for clogs to ensure that the plants framing your bistro area do not wilt in the heat. This is also the best time to pressure wash flagstone or pavers to remove algae or moss that may have accumulated.
In the Autumn, the priority shifts to debris management. Falling leaves can quickly stain light-colored stone or clog drainage gaps between pavers. Use a stiff-bristled broom or a leaf blower to keep the area clear. This prevents the organic matter from breaking down and creating a shelf for weed seeds to germinate.
When Winter arrives, protecting the furniture is the main goal. If your bistro set is made of teak, apply a fresh coat of sealing oil. For wrought iron, check for chips in the paint and apply a rust-inhibiting primer to any exposed metal. If you live in a region with heavy snow, consider moving the furniture into a shed or using heavy-duty canvas covers. For the plants, apply a 3-inch layer of organic mulch to the surrounding beds to insulate the roots against frost heaving.
Professional Landscaping FAQ
How much space do I really need for a bistro set?
A minimum circular area of 7 feet in diameter is recommended. This provides a 30-inch table with enough room for two chairs to slide back comfortably without dropping off the edge of the hardscape or hitting plants.
What is the best material for a low-maintenance bistro base?
Decomposed granite or pea gravel are the most cost-effective and low-maintenance options. They provide excellent drainage, are easy to level, and do not crack like concrete or rot like wood decking over time.
Can I put a bistro table on a sloped yard?
Yes, but you must build a small retaining wall or a timber terrace to create a level “cut and fill” area. Never place a table on a slope greater than 2 percent, as it will be uncomfortable and unstable.
Which plants provide the best privacy for a small seating area?
Columnar yews or Arborvitae provide dense, vertical evergreen screens. For a softer look, use clumping bamboo in deep containers or a trellis covered in Evergreen Clematis to create a living wall that does not exceed its spatial boundaries.
How do I prevent my bistro table from wobbling on gravel?
Use a hand tamper to compact the base material thoroughly before adding the top layer. Select “angular” gravel rather than “round” stones, as angular pieces lock together to create a more stable, non-shifting surface for furniture legs.