
Establishing a functional outdoor living space requires more than just aesthetic intuition; it demands a technical understanding of how hardscape elements interact with the natural environment. The backyard patio often serves as the primary transition point between the structured architecture of the home and the organic fluidity of the garden. A critical component of maintaining this transition is ensuring the longevity of the stone or concrete surfaces through expert backyard patio sealing tips and comprehensive site management. When a landscape is designed with precision, it accounts for the local climate, soil composition, and the inevitable wear caused by foot traffic and weather. A poorly maintained patio can lead to moisture ingress, which eventually compromises the underlying base materials and disrupts the visual continuity of the entire property. By integrating high-quality sealants with professional-grade landscaping techniques, property owners can enhance curb appeal while creating a durable sanctuary that withstands the test of time.
Effective landscaping begins with a clear spatial hierarchy. We often see homeowners prioritize plant color over structural integrity, which results in a garden that looks excellent for one season but fails as a permanent environment. Professional design seeks to balance the hard, unyielding surfaces of the patio with the soft, permeable textures of the surrounding beds. This balance is not merely visual; it is functional. For instance, the slope of the land must allow for water to move away from the patio surface to prevent pooling, which is a leading cause of sealant failure and stone degradation. When we discuss backyard patio sealing tips, we are not just talking about the application of a liquid coating; we are discussing the preservation of a structural investment within a larger, living ecosystem.
Landscape Design Principles
A successful landscape design relies on several core pillars: symmetry, focal points, and elevation layering. In any professional layout, the patio functions as the anchor or the “floor” of the outdoor room. Symmetry can be achieved through the mirrored placement of Evergreen Shrubs or architectural elements, which provides a sense of order and calm. Focal points, such as a large Specimen Tree or a stone fire pit, draw the eye through the space and provide a sense of purpose to the layout.
Elevation layers are perhaps the most overlooked aspect of residential design. By using Retaining Walls and terraced planting beds, a designer can create a sense of enclosure and privacy. These layers also provide an opportunity to manage Sub-surface Drainage. When planning the irrigation for these areas, it is vital to keep spray heads directed away from the sealed patio. Excessive moisture from an Automatic Irrigation System can lead to mineral deposits, also known as efflorescence, which can become trapped under a poorly applied sealer, causing clouding or “blushing” of the stone surface. Furthermore, the use of Walkways constructed from matching or complementary materials helps to define pedestrian circulation, preventing soil from being tracked onto the patio and wearing down the protective finish of the seal.
Plant and Material Selection
Choosing the right plant material is essential for minimizing maintenance and protecting your hardscape. The following table outlines several species that work well in proximity to patios and walkways.
| Plant Type | Sun Exposure | Soil Needs | Water Demand | Growth Speed | Maintenance Level |
| :— | :— | :— 😐 :— | :— | :— |
| Boxwood Shrub | Full Sun to Part Shade | Well-Drained | Moderate | Slow | Low |
| Purple Coneflower | Full Sun | Loamy/Poor | Low | Medium | Low |
| Japanese Maple | Part Shade | Acidic/Moist | Moderate | Slow | Medium |
| Feather Reed Grass | Full Sun | Heavy Clay/Moist | High | Fast | Low |
| Creeping Thyme | Full Sun | Sandy/Rocky | Low | Medium | Low |
| Oakleaf Hydrangea | Part Shade | Rich/Humus | Moderate | Medium | Medium |
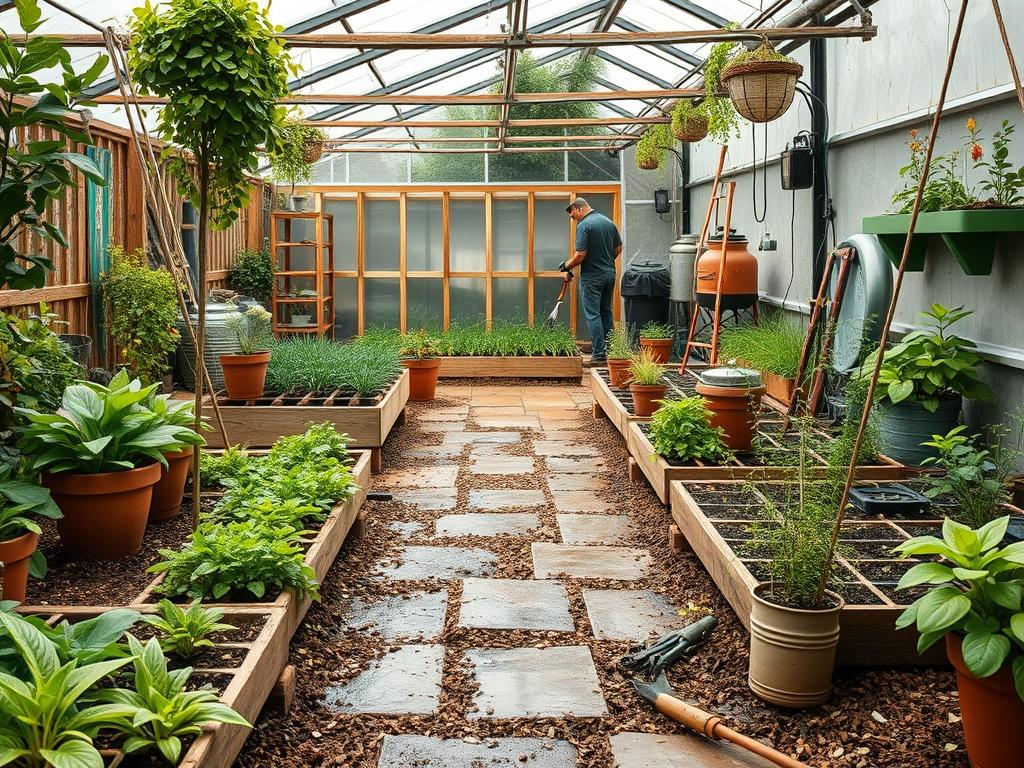
Implementation Strategy
The implementation of a high-quality landscape and patio area begins with site preparation. This stage involves an accurate topographical assessment to ensure the Grading slopes away from the home at a minimum of two percent. Once the grade is established, the focus shifts to the base of the patio. A professional installation uses six to eight inches of Crushed Stone Base topped with one inch of Bedding Sand. This allows for natural drainage and prevents the shifting caused by freeze-thaw cycles.
When the time comes to apply our backyard patio sealing tips to the actual work, the process must be meticulous. First, cleaning is paramount. Use a Pressure Washer on a wide-fan setting to remove dirt without gouging the stone. If stains persist, an Acid-Free Cleaner or an Efflorescence Remover should be applied. Once clean, the surface must be allowed to dry completely, often for 48 to 72 hours, depending on humidity levels. Moisture trapped in the pores of the stone is the primary reason sealers fail.
After drying, the application of Polymeric Sand into the joints provides a stabilized base that resists weed growth and erosion. The final step is the application of the sealer itself. For a natural appearance with maximum protection, a Silane-Siloxane penetrating sealer is recommended. This type of product works below the surface to repel water while remaining breathable. If a “wet look” is desired, a film-forming Acrylic Sealer can be used, though it may require more frequent reapplication. Always use a High-Density Nap Roller or a Low-Pressure Pump Sprayer for an even coat, and avoid applying the product in direct, mid-day sunlight to prevent flash-drying.
Common Landscaping Failures
Failure in the landscape often arises from a lack of attention to drainage. If water is allowed to sit against the edge of a patio, it can lead to Hydrostatic Pressure, which pushes water up through the stone from beneath. This pressure can delaminate a topical sealer or cause permanent staining. Additionally, root overcrowding is a frequent mistake. Planting a tree that has an aggressive root system, such as a Silver Maple, too close to a patio can result in the lifting and cracking of pavers within a few years.
Soil compaction is another silent killer of both plants and hardscapes. When heavy machinery or frequent foot traffic compacts the soil, oxygen cannot reach plant roots, and water cannot penetrate the earth. This increases runoff, which can wash Mulch and soil onto your newly sealed patio. To prevent this, ensure that Edging is installed at a depth of at least four inches to create a physical barrier between planting beds and the stone surface. This keeps the Organic Cedar Mulch in place and maintains the clean lines of the design.
Seasonal Maintenance
Maintenance is a year-round commitment that changes with the cycles of the environment. In the Spring, the focus is on “un-tucking” the garden. This involves removing winter debris, inspecting the patio for any frost heave, and checking the integrity of the sealant. If water no longer beads on the surface, it may be time for a maintenance coat.
Summer maintenance revolves around hydration and weed control. Ensure that Mulch Depth is maintained at three inches to preserve soil moisture and suppress weeds. During the Autumn, the primary task is the removal of fallen leaves. Tannins from decomposing organic matter can stain stone surfaces, especially if the sealer has begun to wear thin. Removing these leaves promptly prevents permanent discoloration.
In the Winter, the most important of all backyard patio sealing tips is to avoid the use of harsh de-icing salts. Sodium chloride can penetrate the pores of stone and concrete, causing physical spalling and chemical breakdown. Instead, use Coarse Sand for traction or a calcium-magnesium acetate product, which is significantly less corrosive to both the sealed stone and the surrounding vegetation.
Professional Landscaping FAQ
What is the best time of year to seal my backyard patio?
The ideal window is late spring or early autumn. You need consistent temperatures between 50 and 80 degrees Fahrenheit for at least 48 hours. Avoid days with high humidity or a chance of rain to ensure the product cures properly.
How often should I reapply sealer to my outdoor stone?
Generally, a high-quality penetrating sealer lasts between three and five years. Topical or film-forming sealers may require reapplication every two years. If water stops beading on the surface or the stone looks dull, it is time for a new coat.
Will sealing my patio make the surface slippery when wet?
Some film-forming gloss sealers can become slick. To prevent this, professional installers add a Non-Slip Additive, which is a fine transparent aggregate, into the sealer during the final application. Penetrating sealers typically do not change the surface texture at all.
Can I apply sealer over a patio that was previously sealed?
Yes, but you must ensure the new sealer is chemically compatible with the old one. Solvent-based sealers generally cannot be applied over water-based ones without stripping the old layer first. Always perform a small patch test in an inconspicuous area.
How can I protect my plants while sealing the patio?
Cover nearby vegetation with Plastic Sheeting or drop cloths during the application process. If any sealer splashes on the leaves, rinse them immediately with clear water. It is best to choose a low-VOC, environmentally friendly sealer to minimize chemical runoff.