
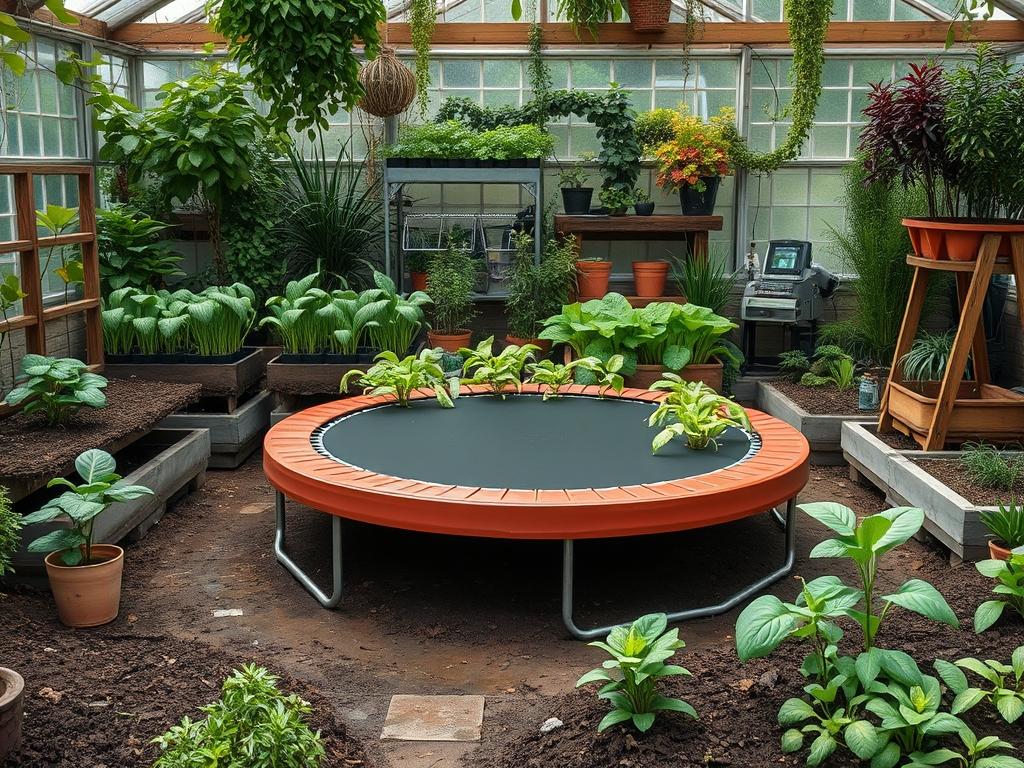
Modern residential landscape design requires a delicate balance between aesthetic elegance and functional utility. For families, the integration of recreational equipment often presents a visual conflict with high end garden architecture. Traditional above ground trampolines frequently act as a visual disruption, breaking the horizon line and casting shadows over meticulously planned flower beds. In contrast, Backyard Inground Trampolines offer a streamlined solution that maintains the continuity of the landscape while providing a dedicated space for physical activity. This design choice is not merely about burying a piece of equipment; it is a complex engineering task that involves soil science, hydrology, and spatial planning. When properly executed, an inground unit enhances the backyard experience by preserving sightlines and increasing safety. However, the installation process demands a comprehensive understanding of site conditions, from the subterranean water table to the structural integrity of the surrounding soil.
Integrating a trampoline into a professional landscape plan begins with an assessment of the site’s topography and existing drainage patterns. Unlike portable equipment, a recessed trampoline is a permanent fixture that dictates the flow of the entire yard. From a consultant’s perspective, the primary “pro” is the preservation of curb appeal; the device essentially disappears into the lawn, allowing the eye to travel across the yard to focal points like custom pergolas, water features, or specimen trees. The primary “con” involves the permanence and cost of excavation. Removing 300 to 500 cubic feet of soil is a significant logistical hurdle that requires heavy machinery and a plan for soil disposal. Furthermore, climate plays a critical role in the long term success of these installations. In regions with heavy rainfall or high clay content, the pit can easily become a stagnant pool without a sophisticated drainage system, leading to equipment rust and mosquito breeding grounds.
Landscape Design Principles
Effective backyard planning relies on the principle of spatial flow and the intelligent use of elevation layers. When situating Backyard Inground Trampolines, a landscape architect looks for a location that provides both proximity to the main home for supervision and enough distance to maintain a quiet zone for adult relaxation. Symmetry can be achieved by framing the trampoline area with low profile hedges or decorative stone borders, making the circular or rectangular shape feel like an intentional architectural element rather than an afterthought.
Elevation layers are particularly useful when dealing with sloped yards. Instead of fighting the natural grade, a professional might use a low profile retaining wall made of natural fieldstone or precast concrete blocks to level the area. This creates a multi tiered effect where the trampoline sits on a flat “plateau” while the rest of the garden gently rolls away. Visual balance is further maintained by using walkways. Installing flagstone paths or decomposed granite trails leading to the trampoline prevents the grass around the edge from being trampled into mud, a common issue known as “compaction.” These walkways also serve as a buffer zone, keeping mulch and debris away from the jumping mat to preserve the bounce quality and machinery longevity.
Plant and Material Selection
The vegetation surrounding the trampoline must be hardy enough to withstand occasional foot traffic while providing enough texture to soften the edges of the installation. Select plants that do not drop excessive debris, as leaves and twigs can accumulate in the pit and cause rot.
| Plant Type | Sun Exposure | Soil Needs | Water Demand | Growth Speed | Maintenance Level |
| :— | :— | :— | :— | :— | :— |
| Liriope Muscari | Full Sun to Shade | Well drained | Low | Medium | Low |
| Buxus Microphylla | Partial to Full Sun | Loamy/Neutral | Moderate | Slow | Medium |
| Thymus Serpyllum | Full Sun | Sandy/Gritty | Very Low | Fast | Low |
| Pennisetum | Full Sun | Adaptable | Low | Fast | Low |
| Emerald Gaiety | Partial Sun | Moist/Well drained | Moderate | Medium | Medium |
For the immediate perimeter, Creeping Thyme is an excellent choice because it can be stepped on and releases a pleasant aroma. Emerald Gaiety Euonymus Harmony provides a variegated visual contrast that stays low to the ground, ensuring that sightlines remain clear. Dwarf Fountain Grass (Pennisetum) adds movement and sound as the wind passes through it, which helps mask the noise of jumping.
Implementation Strategy
A successful installation follows a strict sequence of operations to ensure structural stability and aesthetic integration. The process begins with precise grading of the site to ensure water moves away from the excavation point.
1. Marking and Excavation: Use a marking paint to outline a radius 12 inches wider than the trampoline frame. This extra space allows for the installation of the retaining wall. Dig the hole to the manufacturer’s specification, typically creating a “bowl” shape that is deepest in the center.
2. The Retaining Wall: This is the most critical structural step. A wall made of pressure treated timber or HDPE plastic panels must be installed to prevent the surrounding soil from collapsing into the pit.
3. Drainage and Foundation: Layer the bottom of the pit with 4 inches of 3/4 inch clean stone. If the soil is heavy clay, install a perforated 4 inch PVC drain pipe that leads to a lower point in the yard or a dedicated dry well.
4. Frame Assembly and Airflow: Assemble the galvanized steel frame and place it on the ledge of the retaining wall. Ensure there is a gap or specific vented safety pads to allow air to escape during jumping. Without proper airflow, the “bounce” will feel stiff and muffled.
5. Final Edging and Mulching: Use powder coated steel edging to create a crisp line between the trampoline and the lawn. Fill the gap between the frame and the edge with double shredded hardwood mulch or rubber mulch at a depth of 3 inches to provide a soft landing zone and suppress weeds.
Common Landscaping Failures
The most frequent failure in this niche of landscaping is the neglect of “hydrostatic pressure.” This occurs when water builds up behind the retaining wall or beneath the mat, causing the sides of the pit to buckle or the trampoline to “float” and shift. Many DIY installers underestimate the power of saturated soil. Another common mistake is root overcrowding. Planting large trees like Oaks or Maples too close to the pit will eventually lead to roots puncturing the retaining wall or lifting the frame, requiring expensive repairs.
Improper spacing also affects the functionality of the backyard. If the trampoline is placed too close to a hardscape patio or a masonry fire pit, it creates a safety hazard. A minimum 6 foot clearance from any hard structure is standard professional practice. Finally, irrigation inefficiencies occur when homeowners forget to adjust their sprinkler zones. Direct spray hitting the metal frame daily will accelerate corrosion and cause the jump mat to become slippery and dangerous.
Seasonal Maintenance
Landscape management for an inground trampoline changes with the calendar to ensure both the equipment and the surrounding plants thrive.
Spring: This is the time for a “pit audit.” Remove the jump mat to check for any standing water or debris accumulation in the bottom of the hole. Clear the drainage pipes using a high pressure hose if necessary. Apply a pre emergent herbicide to the mulch border to prevent weed growth.
Summer: Focus on UV protection and irrigation. Inspect the safety pads for sun damage. If the surrounding plants are boxwoods or ornamental grasses, ensure they are receiving deep watering at the roots rather than overhead spray that might wet the jumping surface.
Autumn: Leaf management is paramount. Use a leaf blower or stiff rake to clear the mat daily. Wet leaves can stain the mat and, if they fall into the pit, will create a compost layer that traps moisture against the steel frame.
Winter: In regions with snow, the weight of a heavy snowfall can stretch the springs of a trampoline. We recommend installing a heavy duty weather cover or removing the jump mat entirely if the trampoline will not be used for several months. Check that the stone base in the pit hasn’t shifted during the freeze thaw cycle.
Professional Landscaping FAQ
How do I prevent the hole from flooding during heavy rain?
Install a sump pump or a gravity fed French drain. A base layer of clean gravel also encourages vertical drainage. If your yard has a natural slope, pipe the water to a lower exit point using PVC drainage tiles.
Can I install an inground trampoline in clay soil?
Yes, but it requires more preparation. You must excavate deeper to add a thicker crushed stone base for drainage. In heavy clay, a manual soakaway or connecting to the home’s primary drainage system is often mandatory to prevent pooling.
What is the best material for the border around the trampoline?
Rubber mulch or engineered wood fiber are the safest choices for impact. For a more formal look, use artificial turf or low mow fescue. Always use professional grade landscape fabric underneath to prevent weed intrusion.
Will the trampoline frame rust underground?
Most high quality inground kits use heavily galvanized steel or powder coated finishes specifically designed for soil contact. Ensuring the pit stays dry through proper drainage and airflow is the most effective way to prevent long term oxidation.
How do you manage airflow for a flush mount trampoline?
Air must escape when the mat is compressed. Use a kit with vented safety pads or leave a one inch gap between the frame and the retaining wall. This prevents the “muffled bounce” caused by air resistance during use.